⬜Account Settings Guide: Customization and Control in Aurmenu
Account settings give you full control over your experience in Aurmenu, allowing you to customize your settings, protect your data, and enhance your efficiency. In this guide, we will explain the steps to access and manage your account settings clearly and systematically.
1️⃣ Logging into Your Account
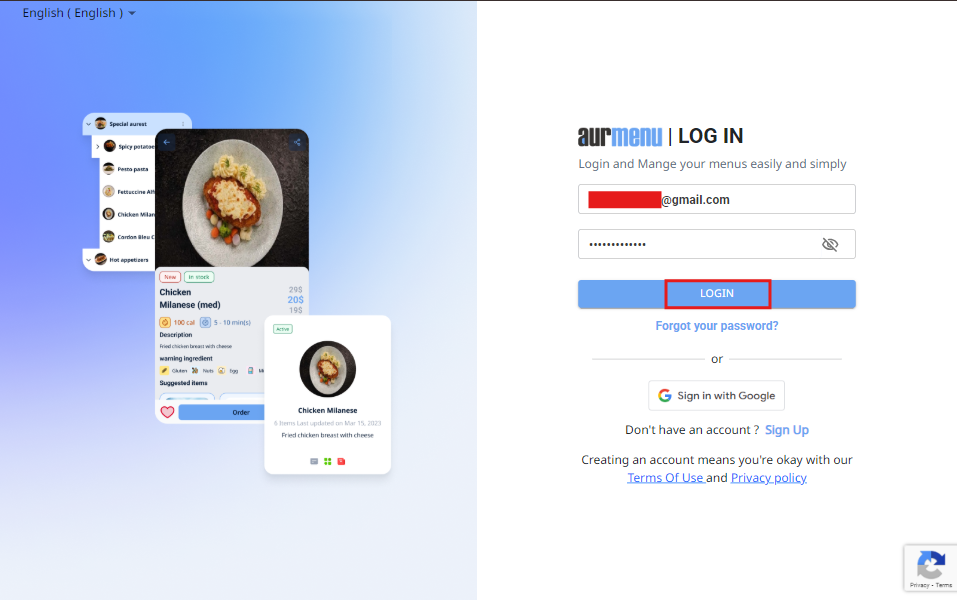
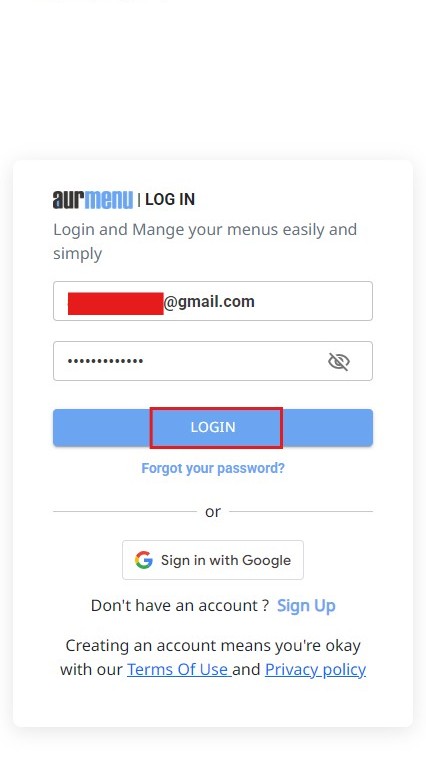
Before customizing your settings, you first need to log into your account:
✔ If you need login instructions, you can refer to the dedicated article through [this link].

2️⃣ Accessing Account Settings
After logging in, follow these steps to access your account settings:
✅ Open Aurmenu, and the main screen will appear.
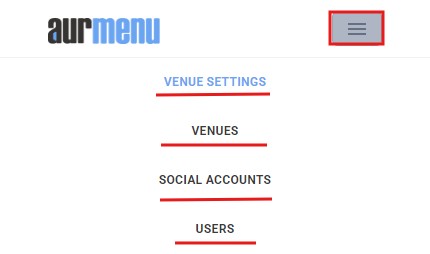
✅ Click on the Logo button located on the right side of the screen.
✅ Select Account Settings from the dropdown menu.
3️⃣ Exploring Account Settings Sections
Once you open the account settings, you will find several options to customize your account based on your needs:

✅ Venue Settings
✔ Modify the settings of your registered venue.
✔ Configure general venue information, such as name, location, logo, cover image, and currency.
✔ To learn how to set up a venue, refer to [this article].
✅ Venues
✔ View all venues linked to your account.
✔ Add new venues or edit registered venue details.
✔ To learn how to manage registered venues, refer to [this article].
✅ Social Accounts
✔ Link your social media accounts to Aurmenu.
✔ Easily log in and share content directly.
✔ To learn how to set up social accounts, refer to [this article].
✅ Users
✔ Add new users to your account.
✔ Assign roles and permissions to each user based on their responsibilities.
✔ To learn how to configure user roles and permissions, refer to [this article].
 العربية