⬜ Step-by-Step Guide to Creating an Aurmenu Account and Setting Up the System
In this guide, we will walk you through how to create a new Aurmenu account, complete the essential setup steps, and start managing your store effortlessly.
1️⃣ Creating a New Aurmenu Account
1. Open the App or Website
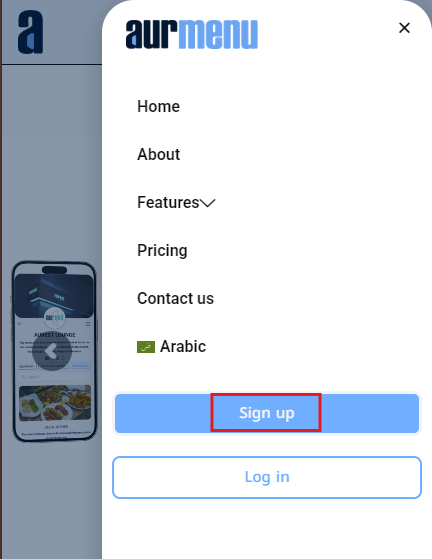
- Go to the Aurmenu app or official website.
- Click on "Sign up".

2. Enter Account Information
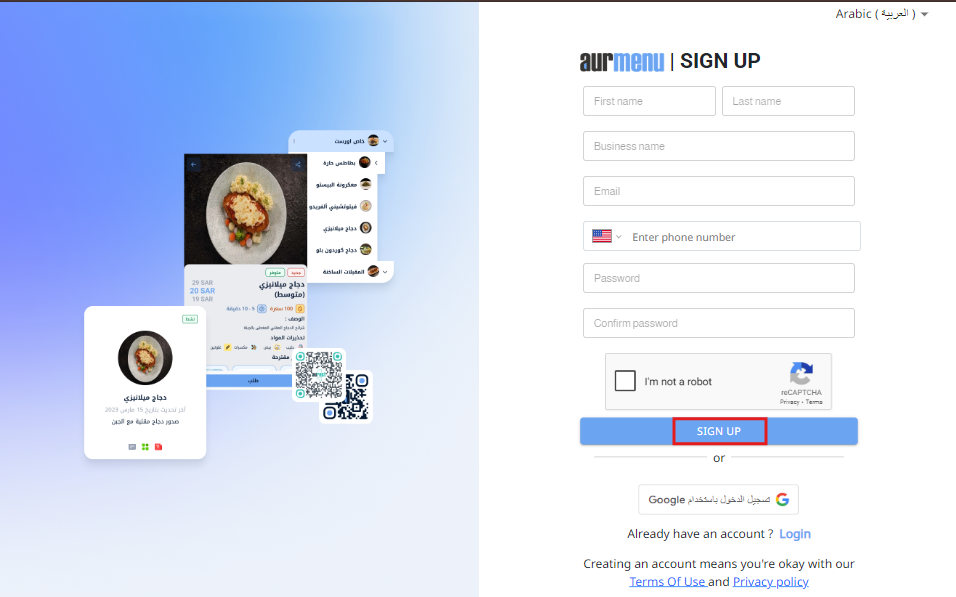
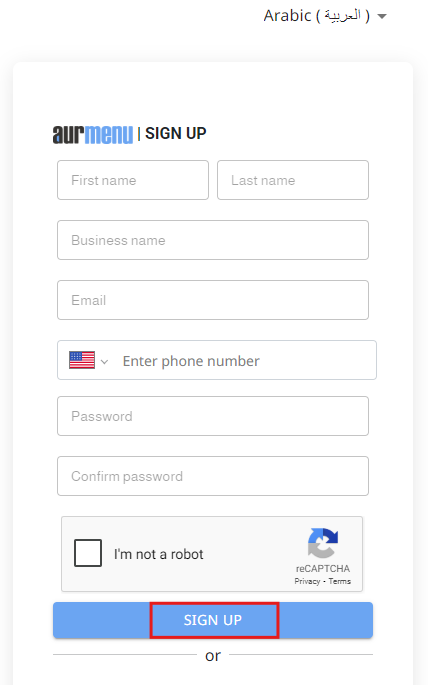
- Enter your First Name & Last Name.
- Enter your Business name .
- Enter your Email Address.
- Enter your Phone number .
- Create a Password and re-enter it for confirmation.
3. Security Verification
- Complete the reCAPTCHA test to verify that you are a real user.
4. Account Verification
- A verification code (OTP) will be sent to your email.
- Enter the code in the designated field and click "Confirm".
5. Complete Account Creation
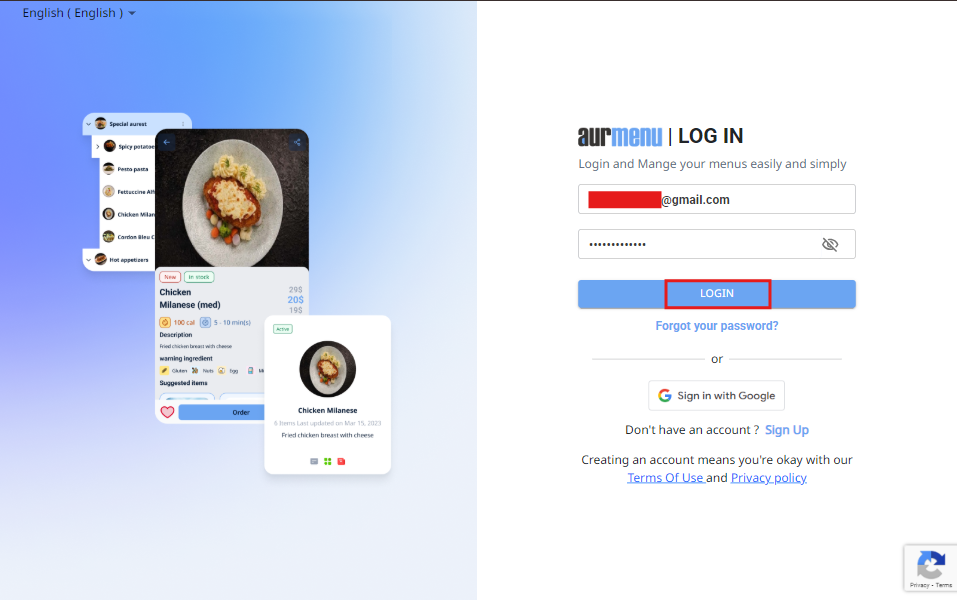
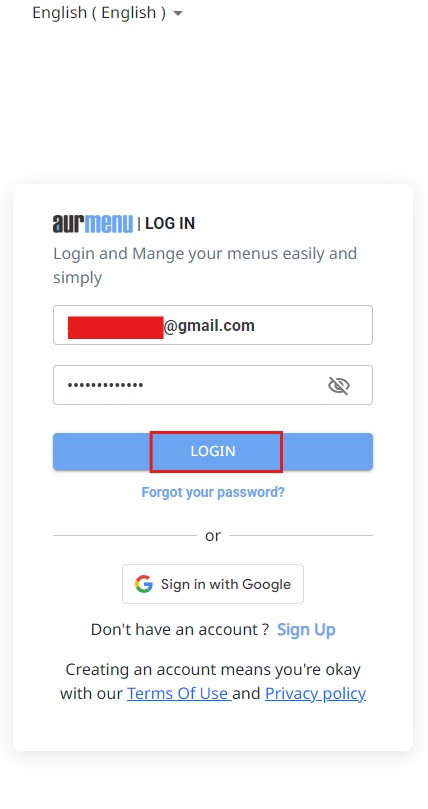
- Once verified, you can log in to your account using your email and password.
2️⃣ Completing the Setup After Registration
1. Choosing a Subscription Plan
-
After logging in, you will be automatically redirected to the Packages & Subscriptions page.
-
Browse the available Packages and select the one that suits your needs.
-
Click "Subscribe" under the selected plan.
You will be directed to the Payment Page, where you can enter your billing details and complete the payment.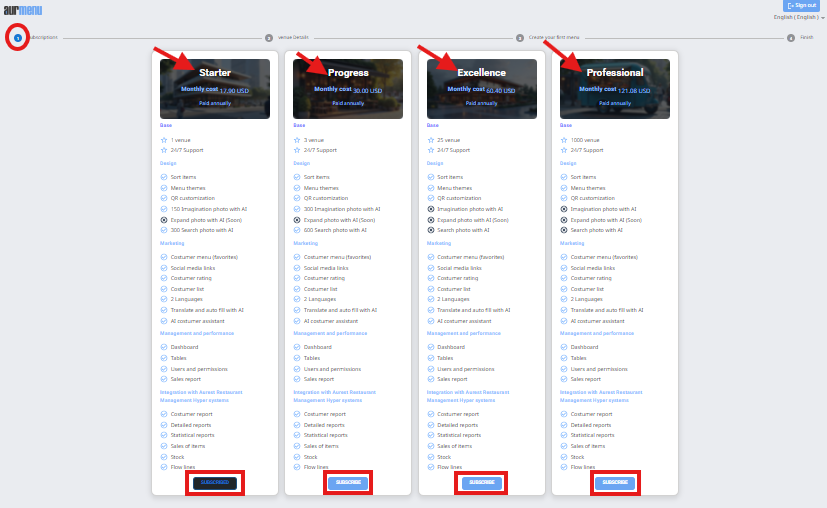

2. Setting Up Your Venue Details
-
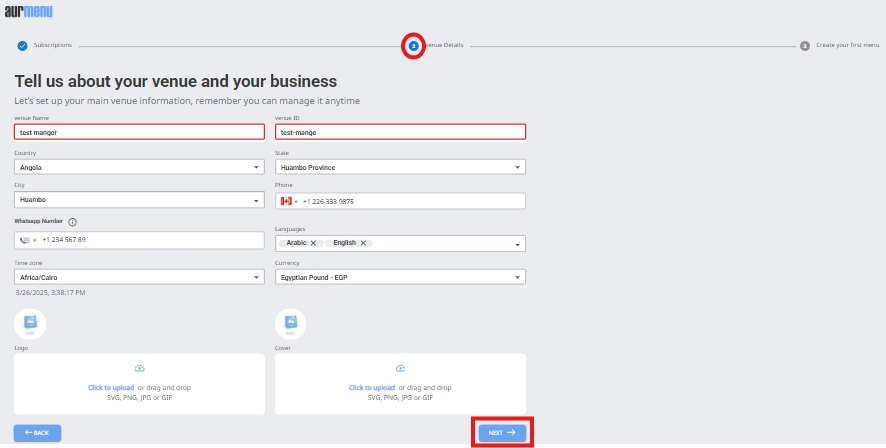
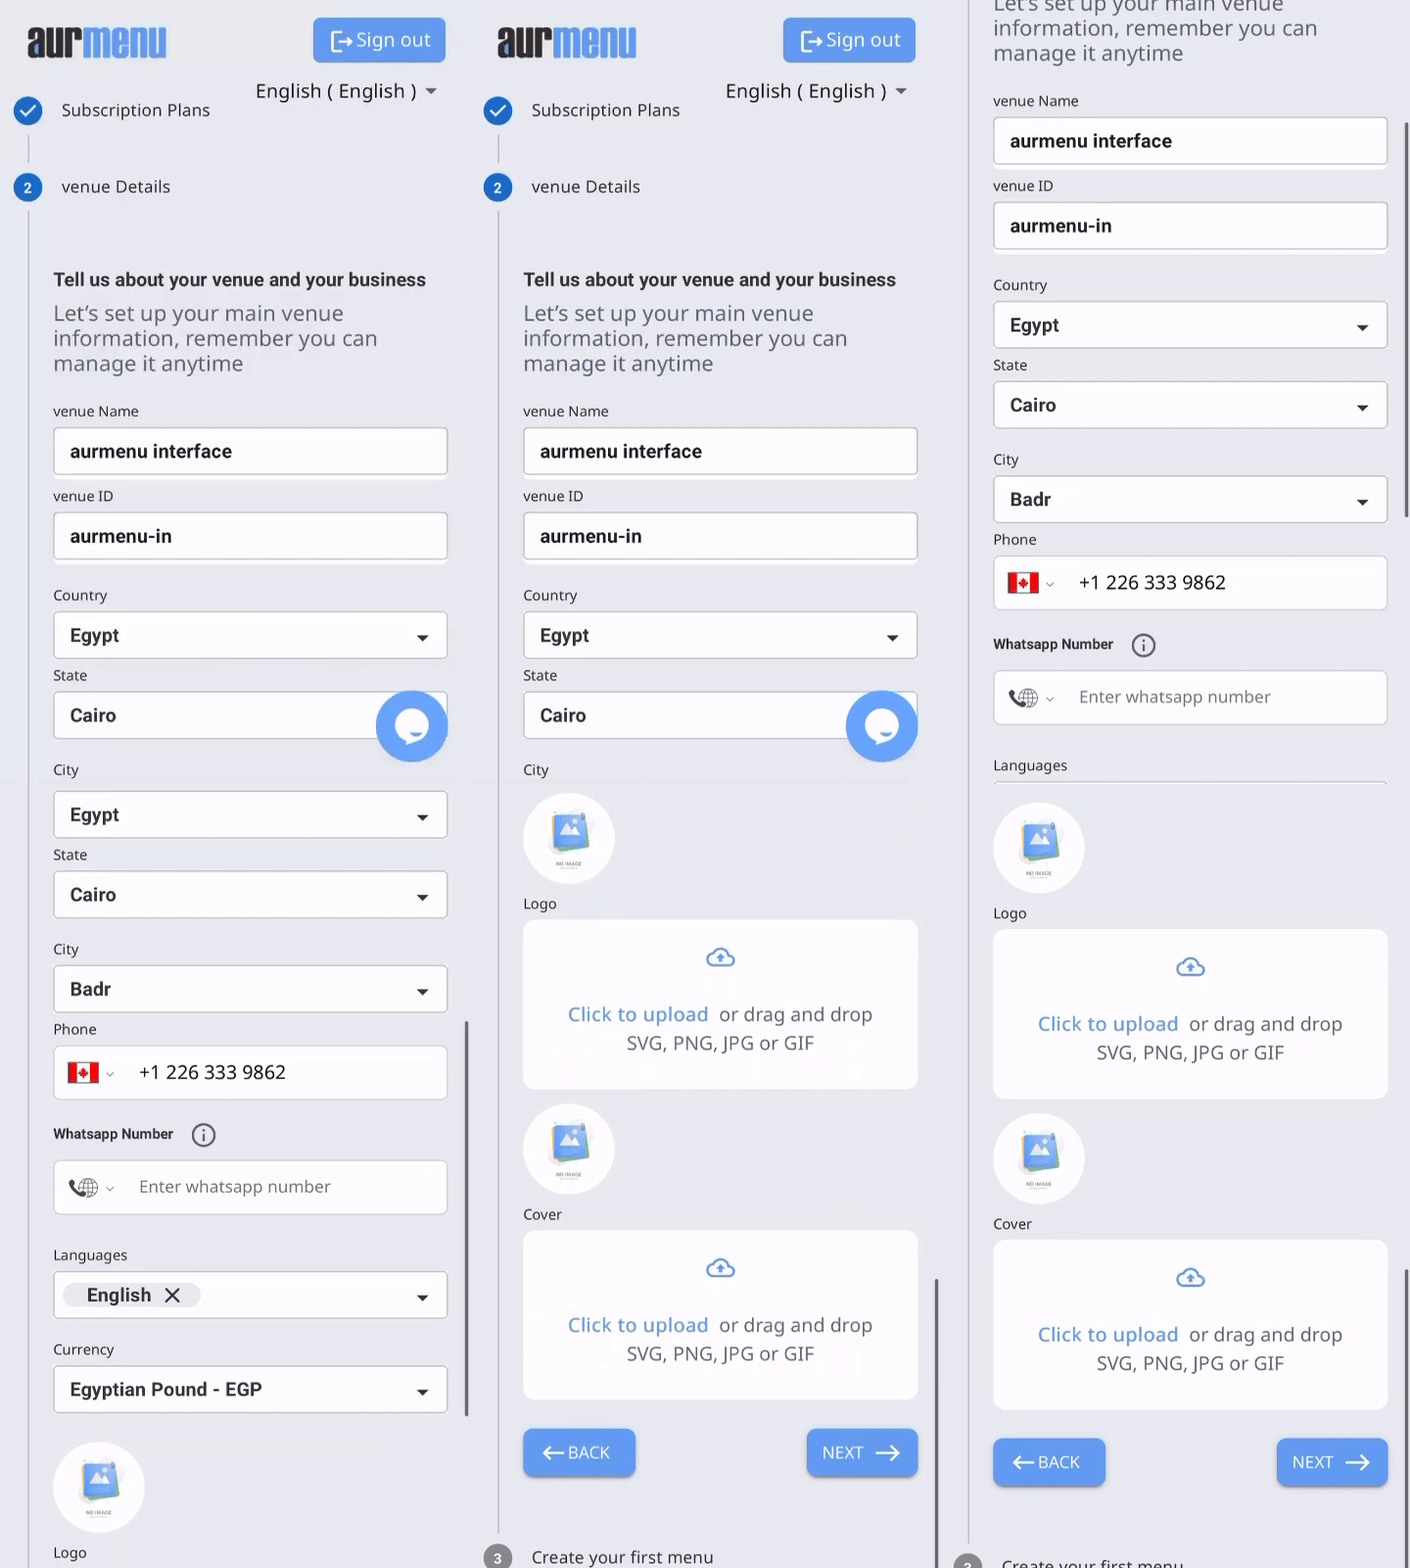
After subscribing, you will be taken to the Venue Settings page.
-
Enter your venue details, such as name, location, and other relevant information.
-
Click "Next" to proceed to menu setup.
3. Creating Your First Menu
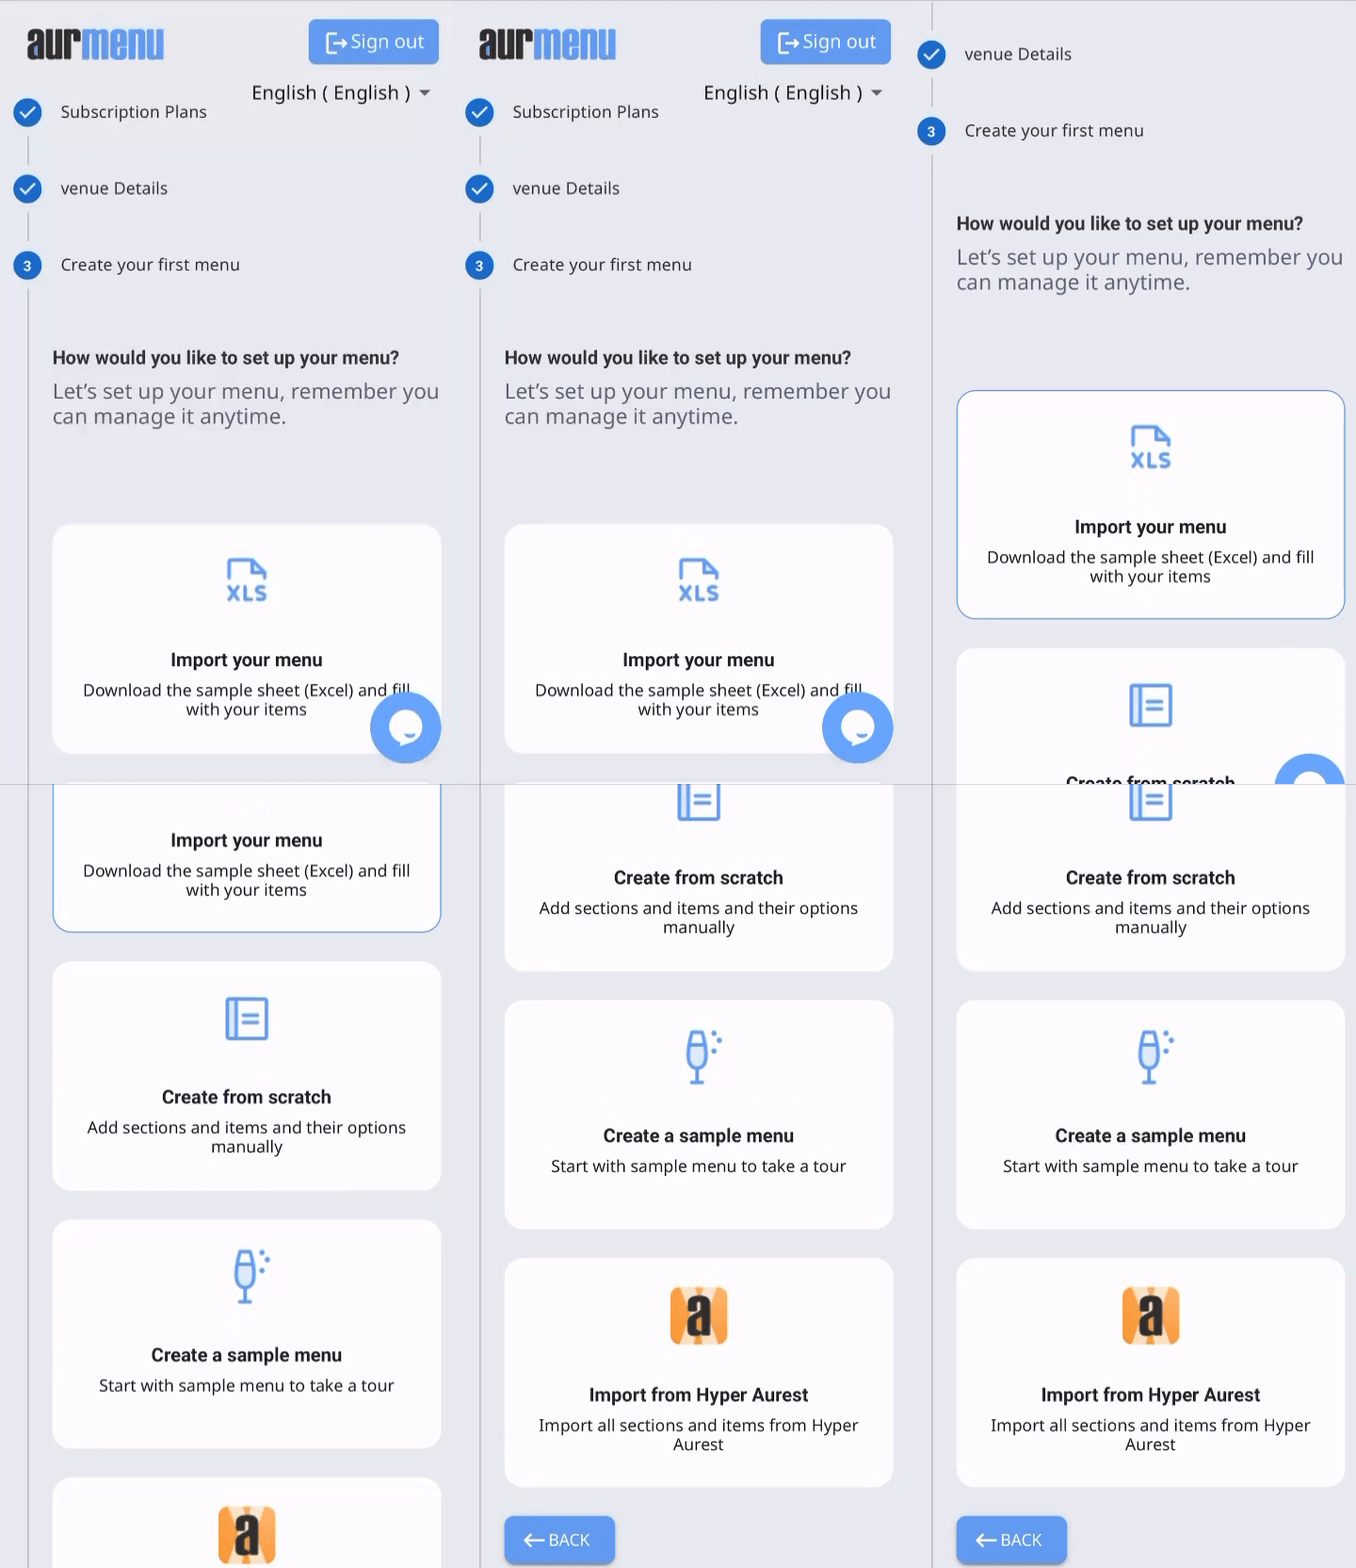
At this step, you can choose how you want to create your menu. Aurmenu offers four options:
✅ Create a Menu from Scratch – If you want to manually add items and categories. (For more details, visit [this article].)
✅ Import a Menu from Excel – If you already have a menu in Excel format. (For more details, visit [this article].)
✅ Import a Menu from Aurest – If you are using Aurest for order management. (For more details, visit [this article].)
✅ Create a Sample Menu – To test the system and see how menus are structured.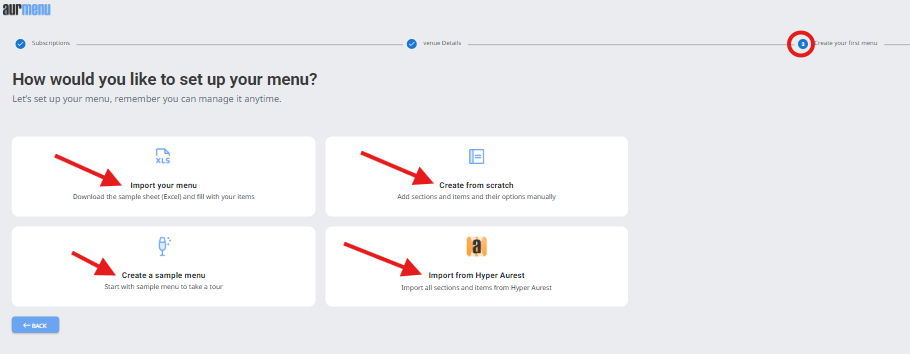
4. Customizing Your Design & Theme
-
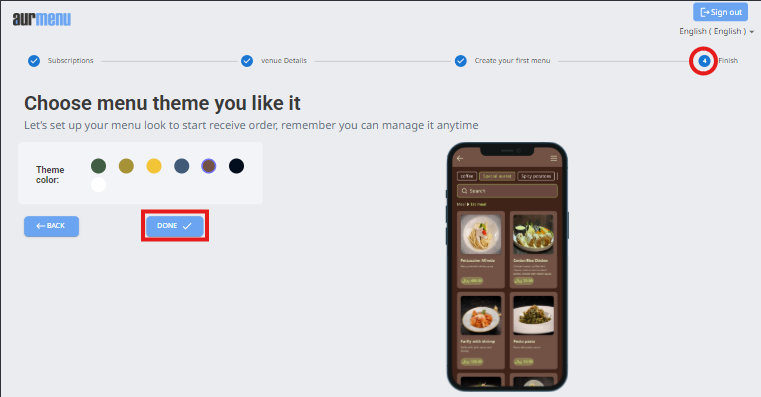
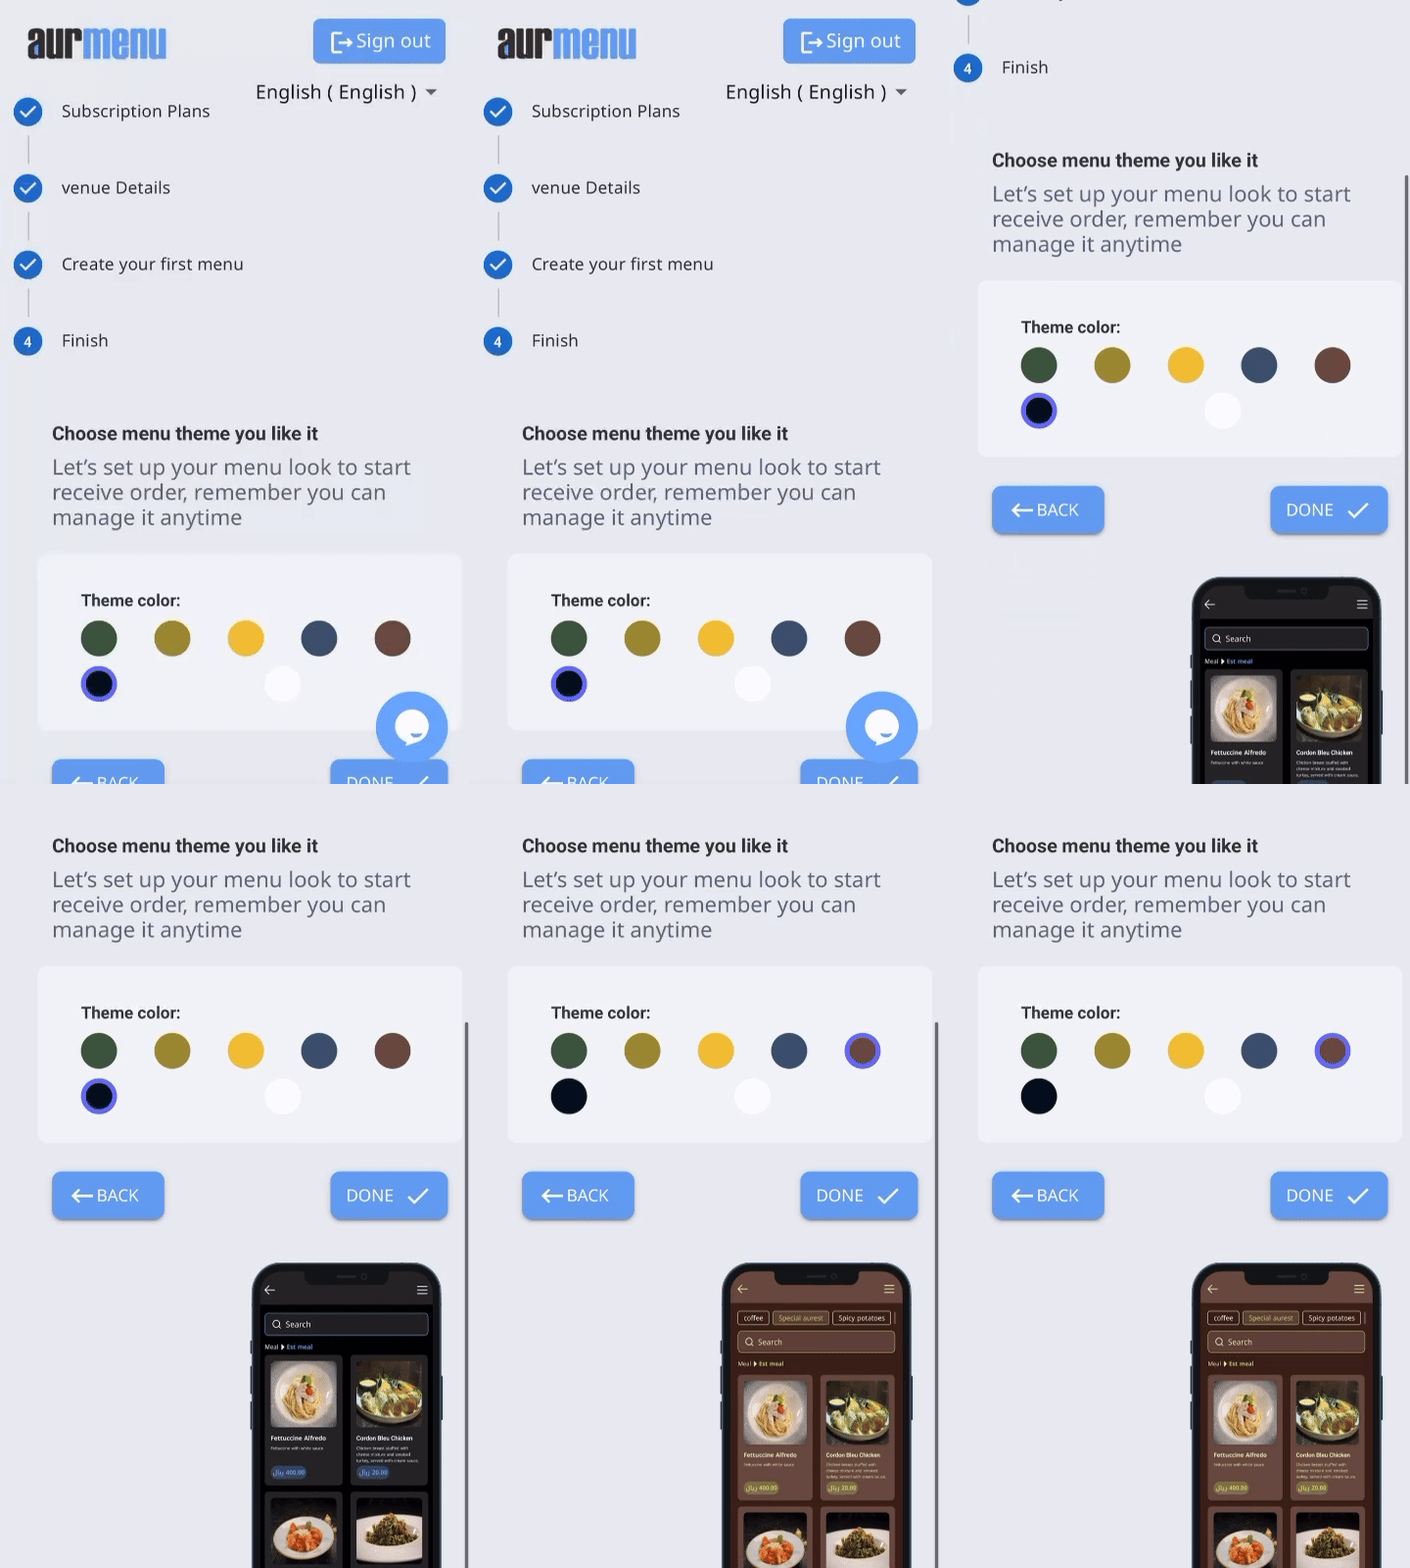
After creating your menu, you will be redirected to the Design Settings page.
-
Choose a theme and colors that align with your brand identity.
-
Once finished, click "Done" to save the settings.
5. Accessing the Dashboard
-
Once the setup is complete, you will be automatically redirected to the Dashboard, where you can fully manage and customize your menu settings.
✨ Result
After completing these steps, your Aurmenu account will be ready to use, allowing you to efficiently manage your store. You can now add items, customize menus, and track orders from your control panel.
 العربية