 العربية
⬜ Venue Management Guide in Aurmenu
When managing multiple venues , setting up each venue correctly is essential to ensure coordination and organization across all locations. Aurmenu helps you manage venue data effortlessly,
- In this guide, we will walk you through how to efficiently set up and manage , from adding a new venue to customizing its settings.
✨ Steps to Add and Manage Venue in Aurmenu
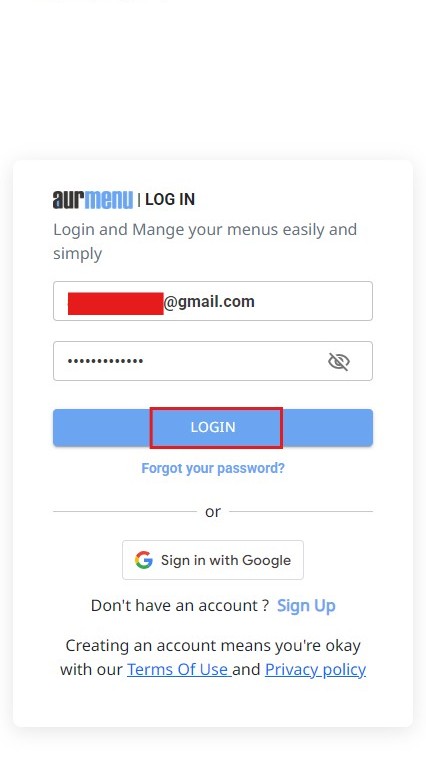
1️⃣ Log in to Your Account
Before getting started, make sure you are logged into your account.
- If you haven't registered yet, you can refer to the registration guide for detailed instructions.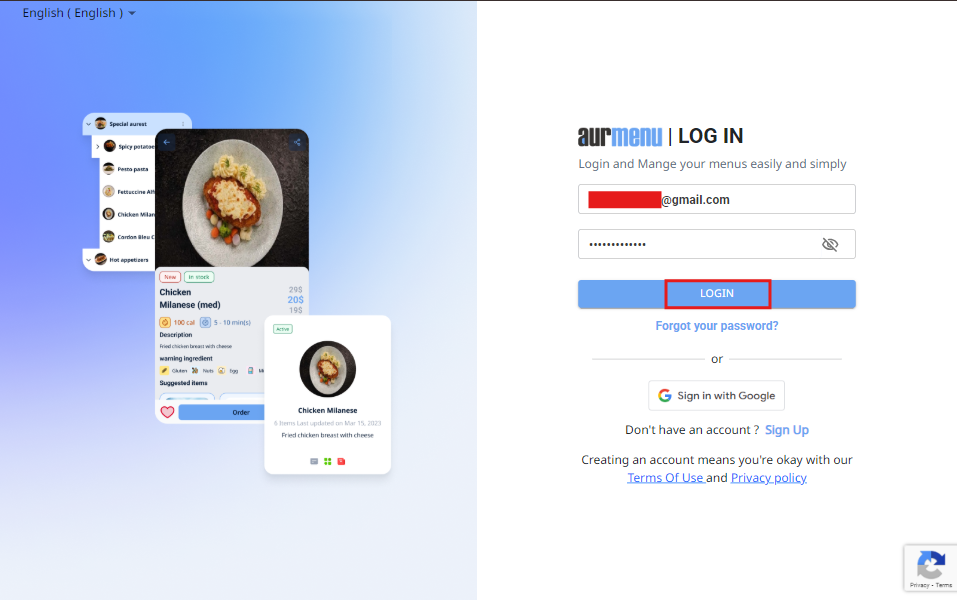
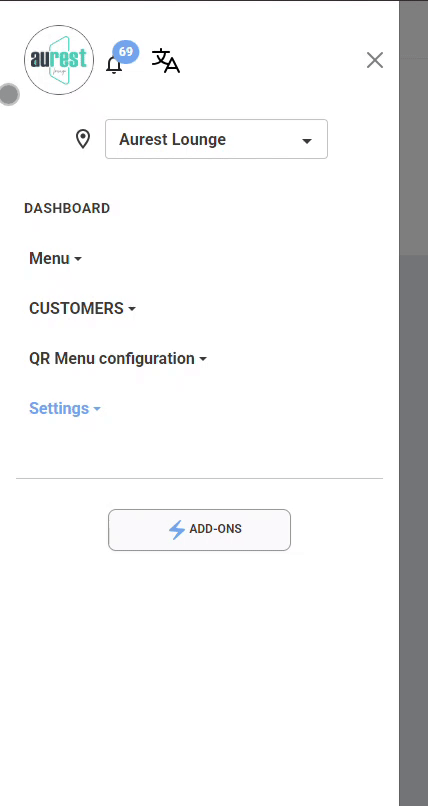
2️⃣ Accessing Venue Settings
✔ Once logged in, the main dashboard will appear.
✔ Click on "Settings" from the side menu.
✔ Select "Venues" from the available options.
3️⃣ Adding a New Venue
✔ In the Venue section, you will find a list of your registered venues.
✔ Click on "Add Venue" to create a new one.
4️⃣ Filling in Venue Information
After clicking "Add Venue", a set of fields will appear that you need to fill out to configure the venue correctly.
✅ Note: For more details on modifying venue settings, refer to the Venue Settings Guide.
5️⃣ Managing Existing Venue
✔ Editing Venue Data: You can update any venue information anytime through Venue Settings.
✔ Deleting a Venue: If a venue is no longer needed, you can delete it permanently from the system.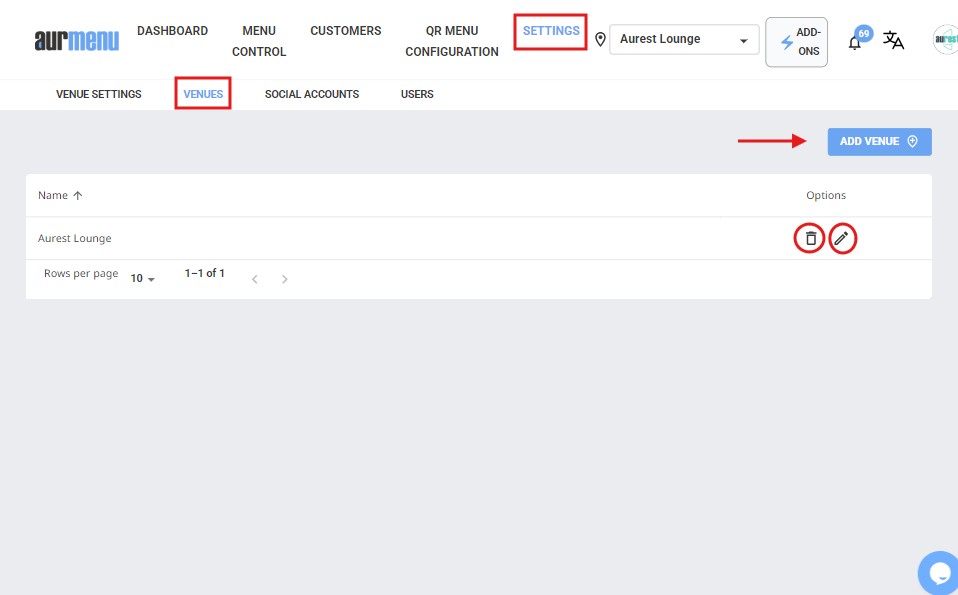
✨ Important Notes
✔ You can add and manage an unlimited number of venues easily through the application..
✔ Ensure accurate data entry to provide a seamless user experience for your customers.
✔ Adding multiple languages enhances the experience for international customers and expands your reach.