 العربية
⬜Guide to Creating a New Menu from Scratch in Aurmenu : Step by Step
Aurmenu allows you to easily create a professional and organized menu . In this guide, we will walk you through all the steps to create your new menu, add sections and items, and adjust all related settings.
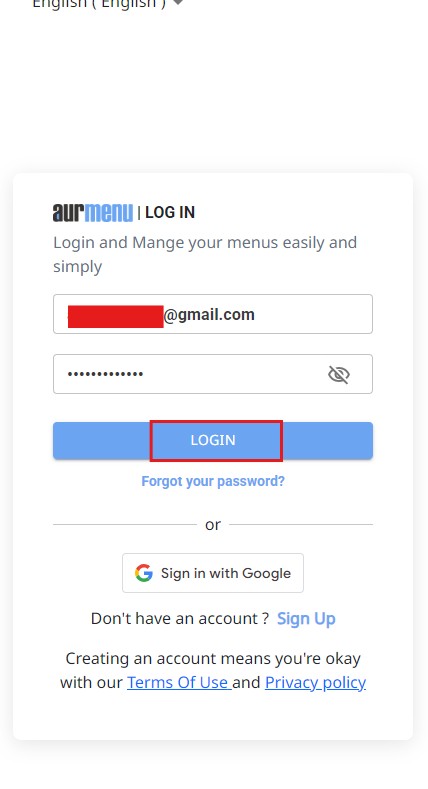
-Before you start creating your menu, make sure to log in to your Aurmenu account ، This step is essential to manage your menus and save all the changes you make.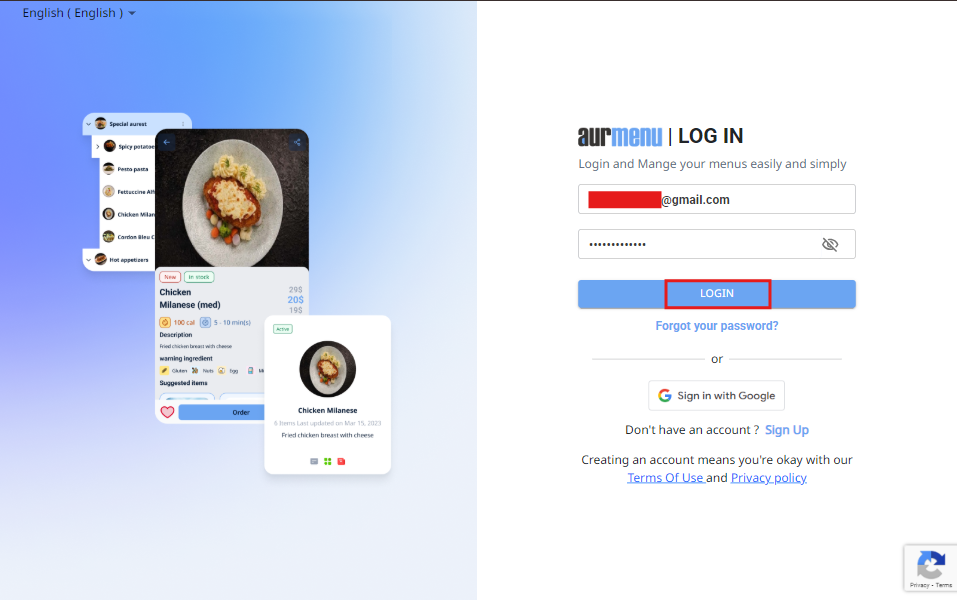
Step 1: Start Creating a New Menu
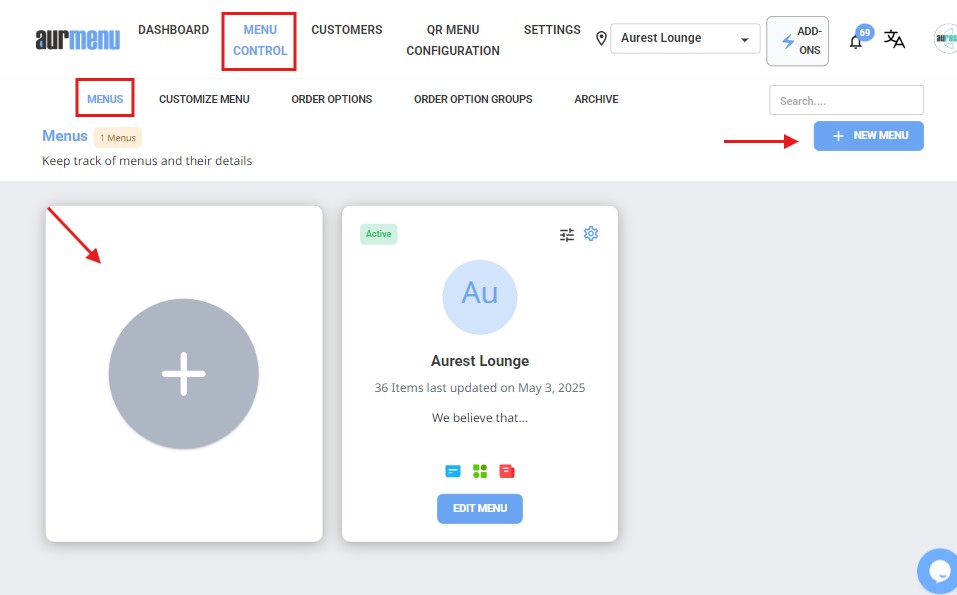
1️⃣ Go to "Menu Control" from the dashboard and click on "Add New Menu."
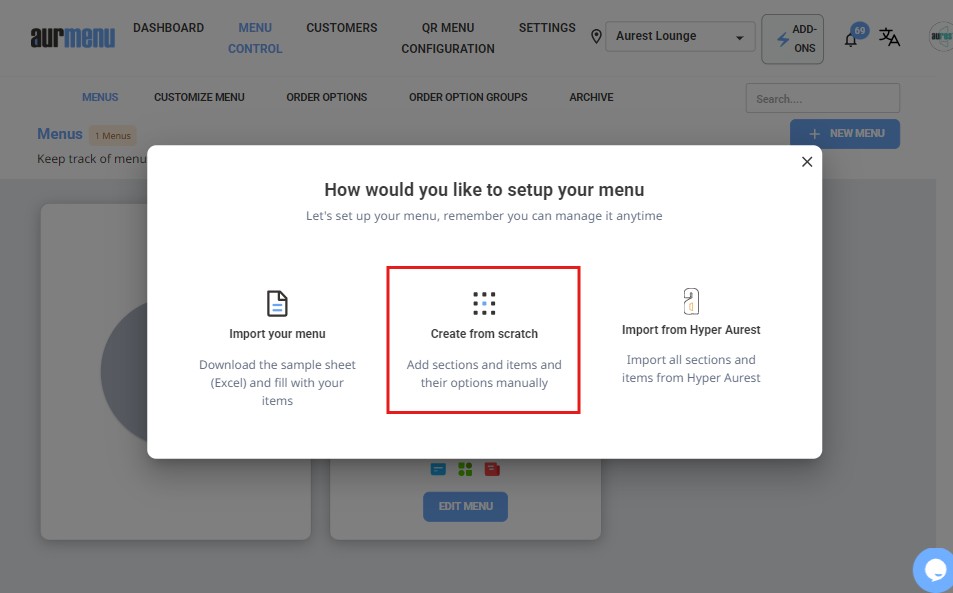
-or By clicking on the (+) icon, you can select 'Create a Menu from Scratch'

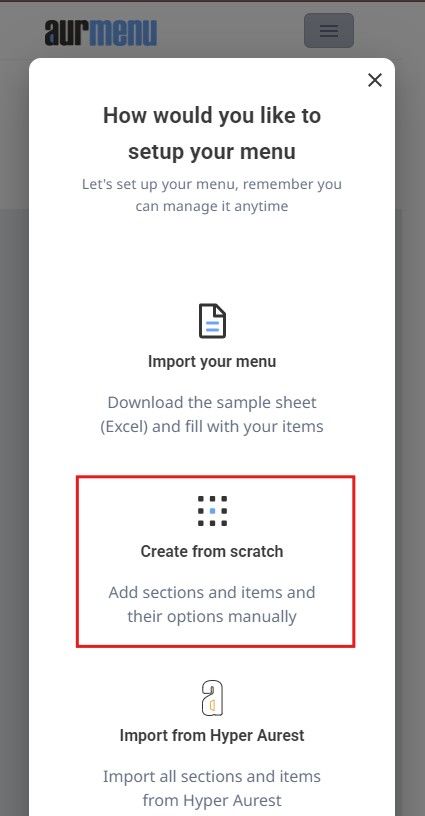
2️⃣ A window will appear with two fields:
-
Name: Enter your menu name.
-
Description: Write a description that reflects your restaurant's identity and gives a clear idea about the menu.
3️⃣ Click on the "Create" button to proceed.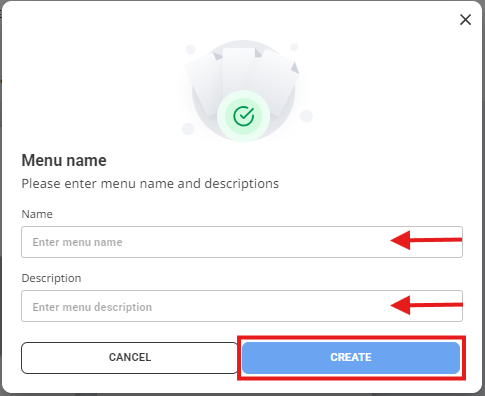
Step 2: Add Sections to the Menu
After creating the menu, click on "Edit Menu" to organize it by adding sections, making it easier for customers to browse.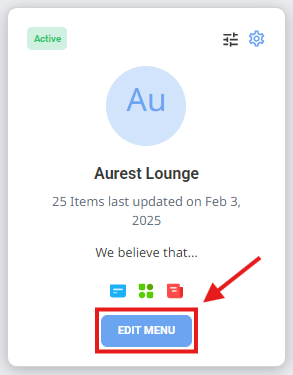
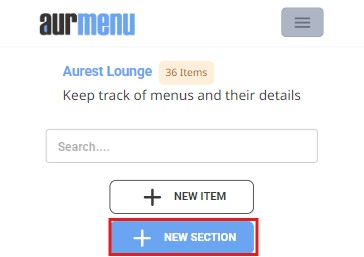
1️⃣ Click on "Add New Section."
2️⃣ A window will appear with the following fields:
-
Name: Enter the section name (e.g., Hot Beverages).
-
Description: Add a brief description for the section (e.g., A selection of fresh hot beverages).
-
Notes: You can add any internal notes related to the section.
-
Add Image: Upload an image for the section manually, or use the AI feature to create a professional image.
-
Display Settings: Choose whether you want to always show the section or hide it.
-
Section Type: Select whether it’s a main section (like Desserts) or a sub-section (like Cakes under Desserts).
-
Main Section: If it's a sub-section, select the main section it falls under.
-
Display Order Number: Use this field to organize the section's display order.
3️⃣ Click "Create" to add the section.
4️⃣ If you wish to add more sections, select "Save and Add More" to keep the window open.
* For full details on how to add a new section, refer to this article.
Step 3: Adding Items to Sections
After creating sections, you can easily add items and take advantage of the following features:
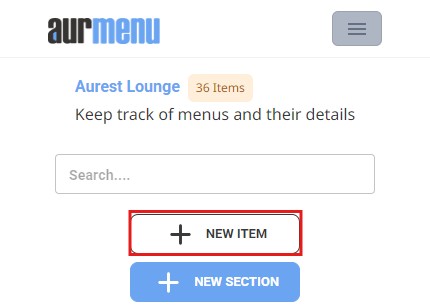
1️⃣ Click on "Add New Item"
✔ Name and Description: Enter the item name, which can be automatically translated into the selected language.
✔ AI-Generated Image: You can automatically create an image or search for a suitable one using AI, based on the item description.
✔ Old and New Price: Use this feature when offering discounts to clearly display the reduced price.
✔ Additional Settings: Configure tax settings, item availability, and preparation time.
✔ Allergy Warnings: Add information about potential allergens.
✔ Recommended Items: Suggest complementary items that pair well with the product.
2️⃣ Add Price Options
✔ Create different sizes for the item with varied prices (e.g., Small – Large).
3️⃣ Add Add-ons
✔ Include custom add-ons such as flavors or extra ingredients, setting minimum and maximum selection limits.
4️⃣ Add a Combo Meal (Multiple Items)
✔ Create combo meals consisting of multiple items in a single offer, such as "Burger + Fries + Drink" at a fixed price.
* For full details on how to add an item, refer to this article.
✨ Additional Features When Creating the Menu
✅ Import Your Menu from Excel to easily upload item data in bulk with minimal effort. To learn more about the import steps, check out this article.
✅ Create Your Menu from Scratch by manually adding categories and items. This process has been explained in detail in this article.
✅ Import Your Menu from Hyper Aurest effortlessly, as all categories and items will be imported automatically without manual entry. For more details on the import steps, please refer to this article.