⬜ How to Create a New Section in Aurmenu – Step-by-Step Guide
Aurmenu allows you to create sections within the menu to organize items in a structured way, making it easier to browse and manage the menu. This guide explains how to add a new section from start to finish.
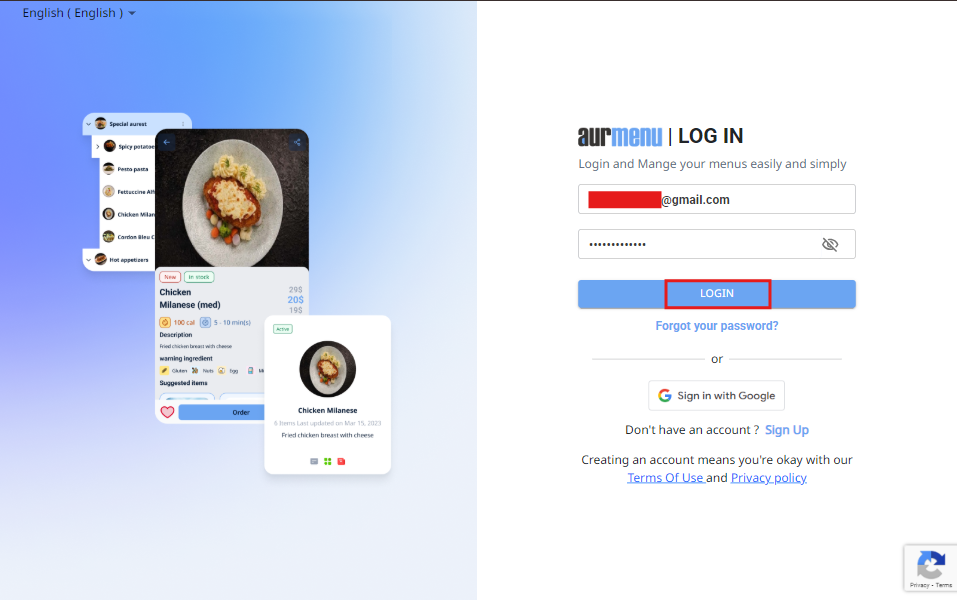
1️⃣ Log in to Your Aurmenu Account
-
Log in to your Aurmenu account.
-
If you need help with the login process, you can refer to the previous article.

2️⃣ Navigate to Menu Control
-
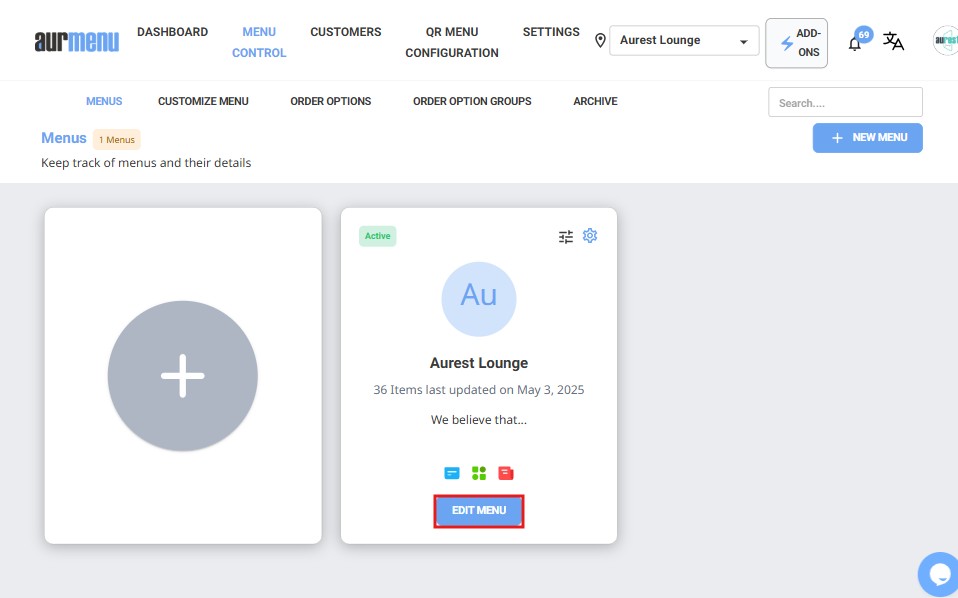
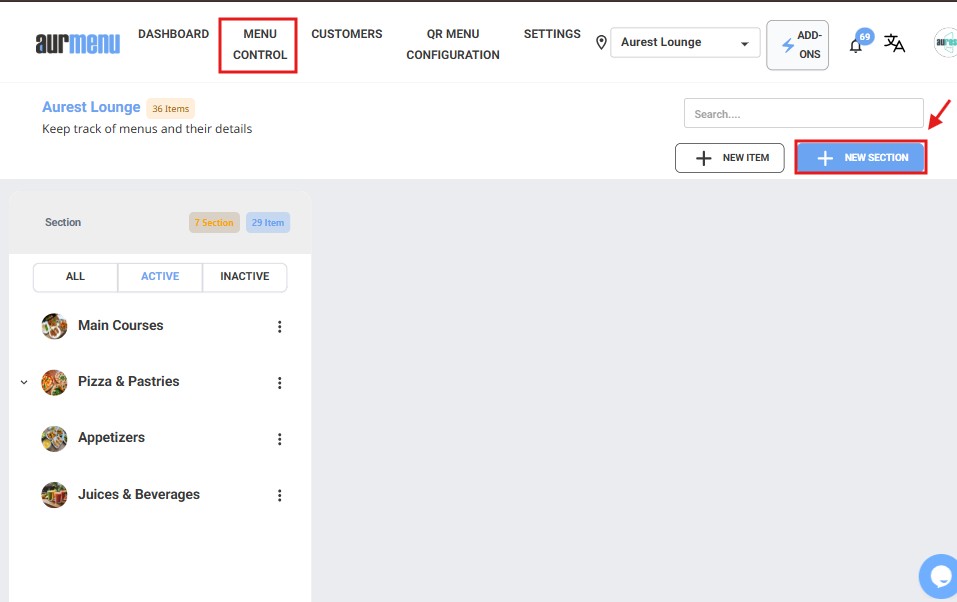
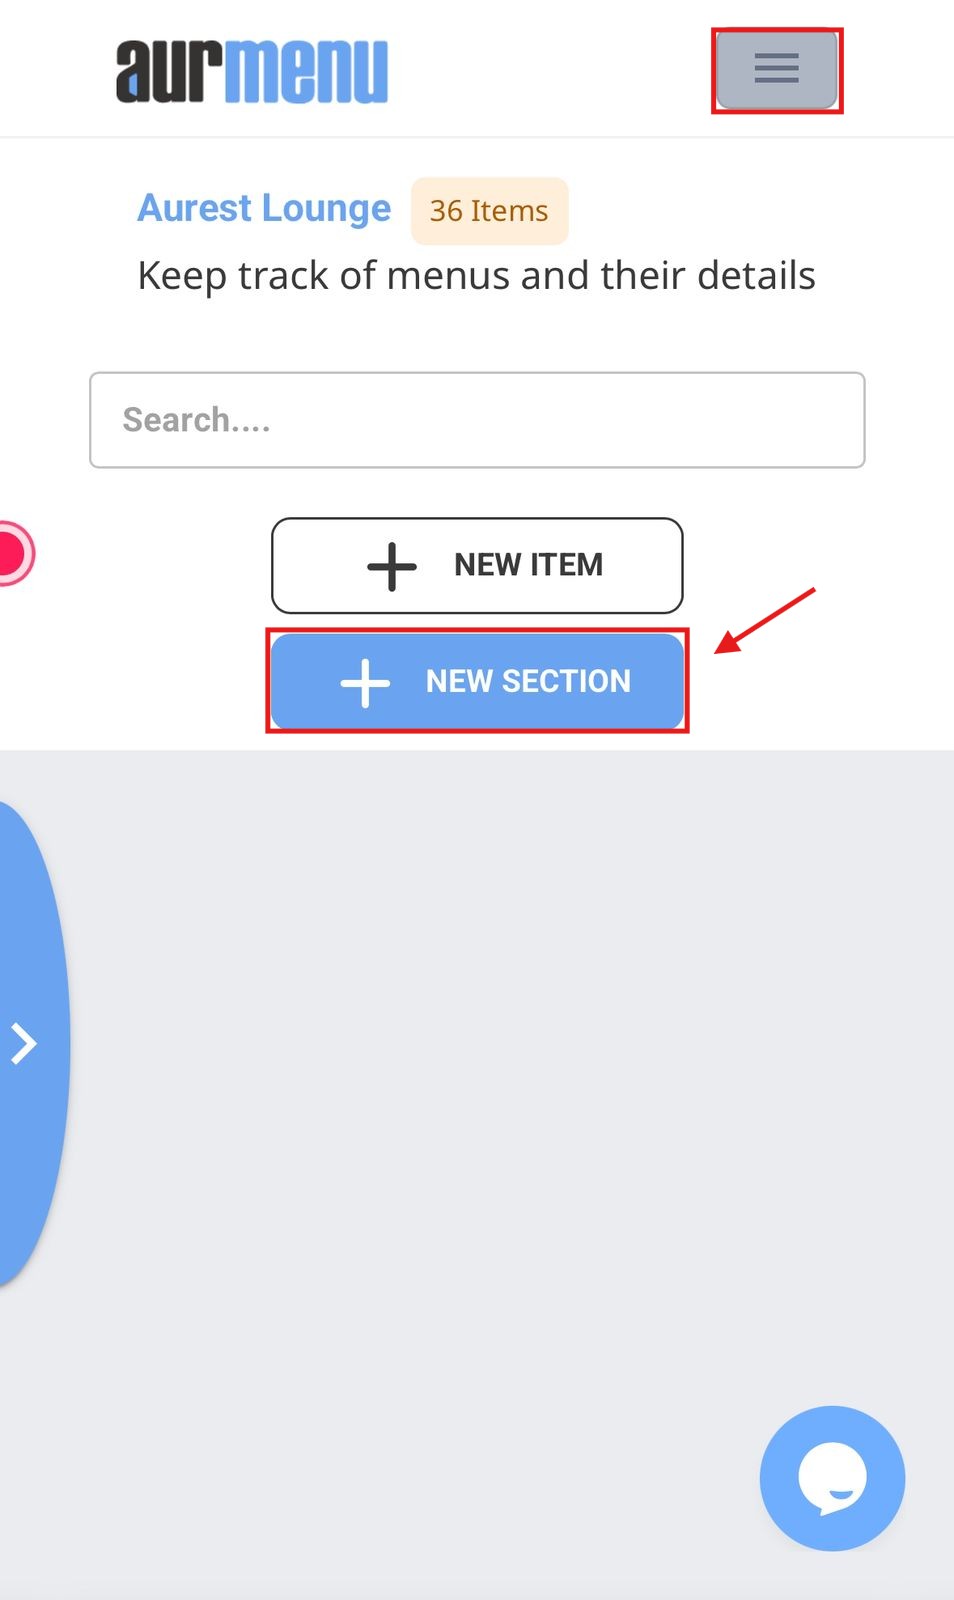
After logging in, go to "Menu Control" from the main interface.
-
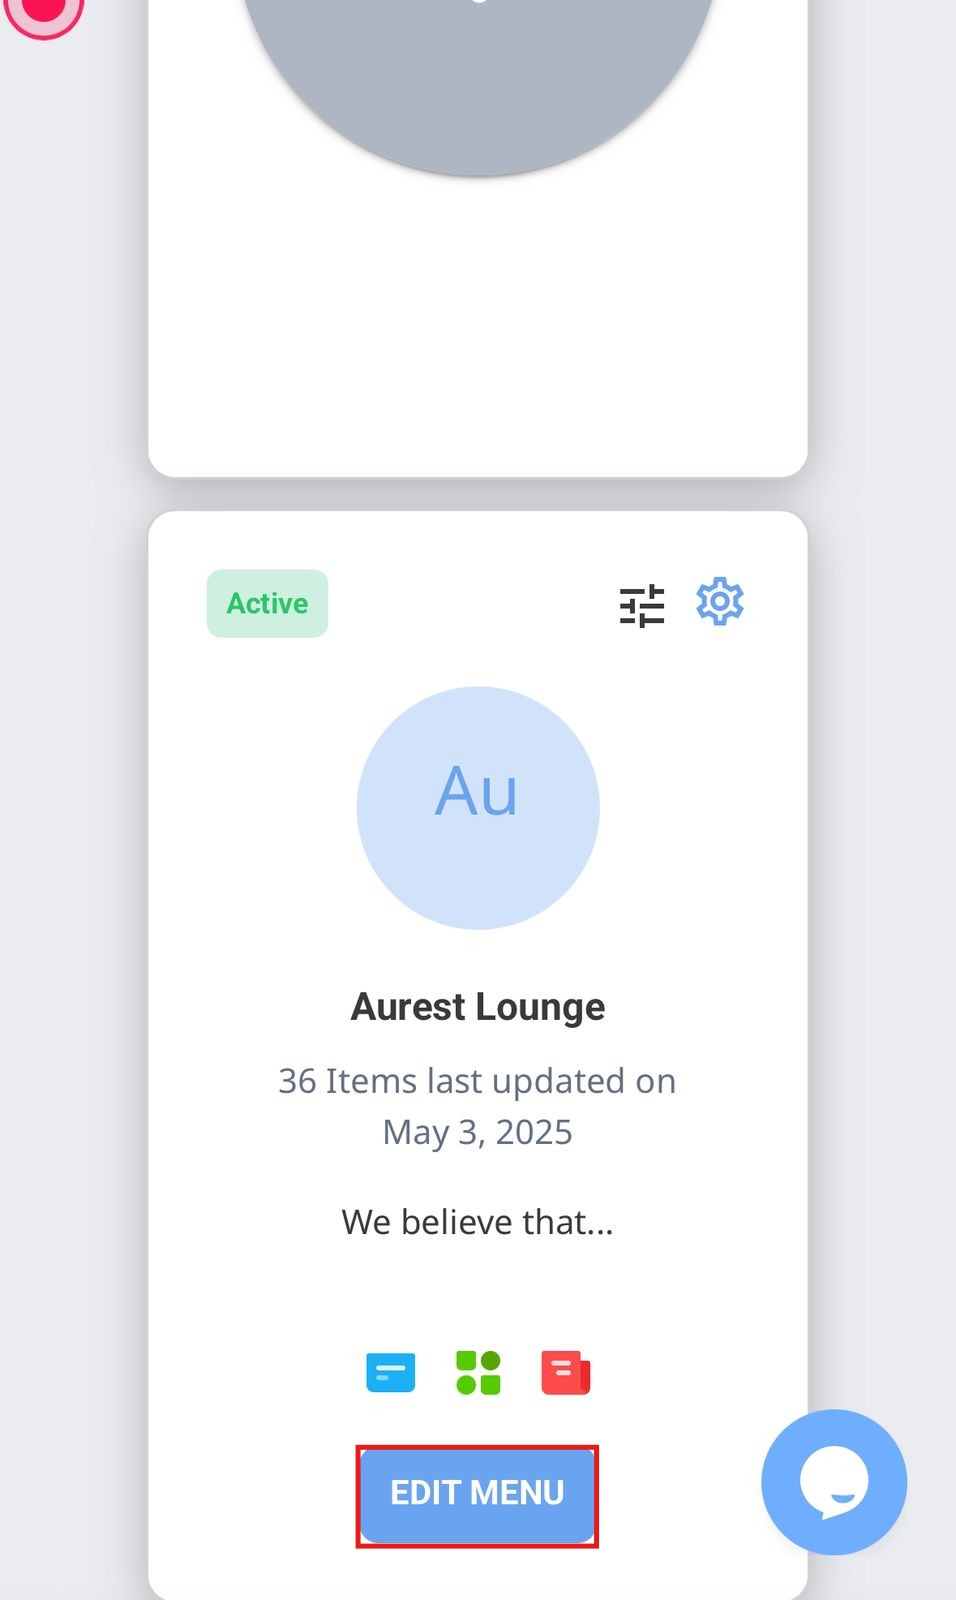
Select the menu where you want to add the new section.
3️⃣ Create a New Section
-
Click on "Add New Section."
- A window will appear containing the required fields to enter the section details.
4️⃣ Fill in the Section Details
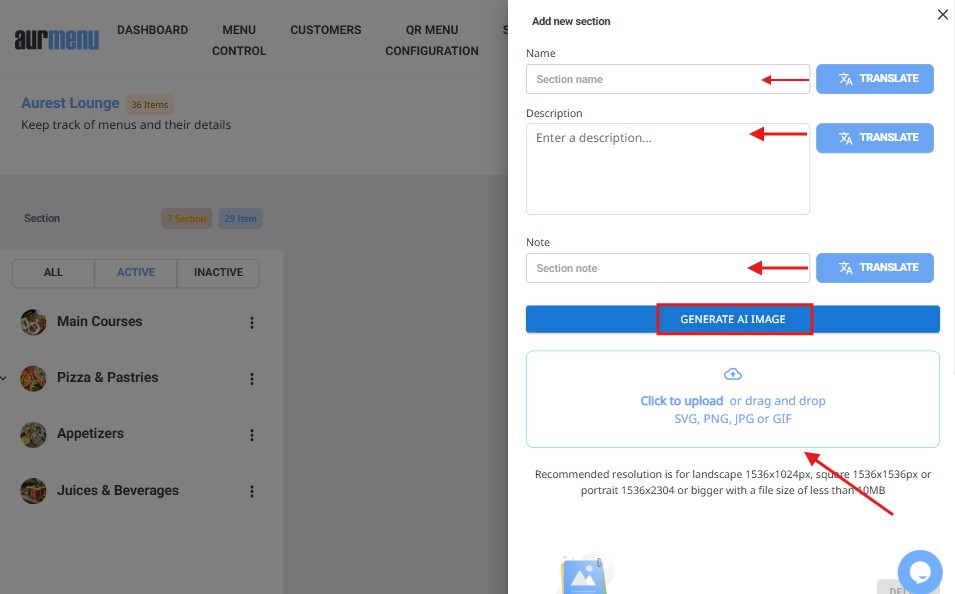
When creating a new section, enter the following details:
-
Section Name – Specify the section name as it will appear in the menu (e.g., Beverages, Desserts, Main Dishes). It can also be translated into the selected language.
-
Description (Optional) – Enter a brief description of the section’s content, which can also be translated into the selected language.
-
Add an Image (Optional) – Upload an image to represent the section within the menu. The image can be created or searched for using AI.
-
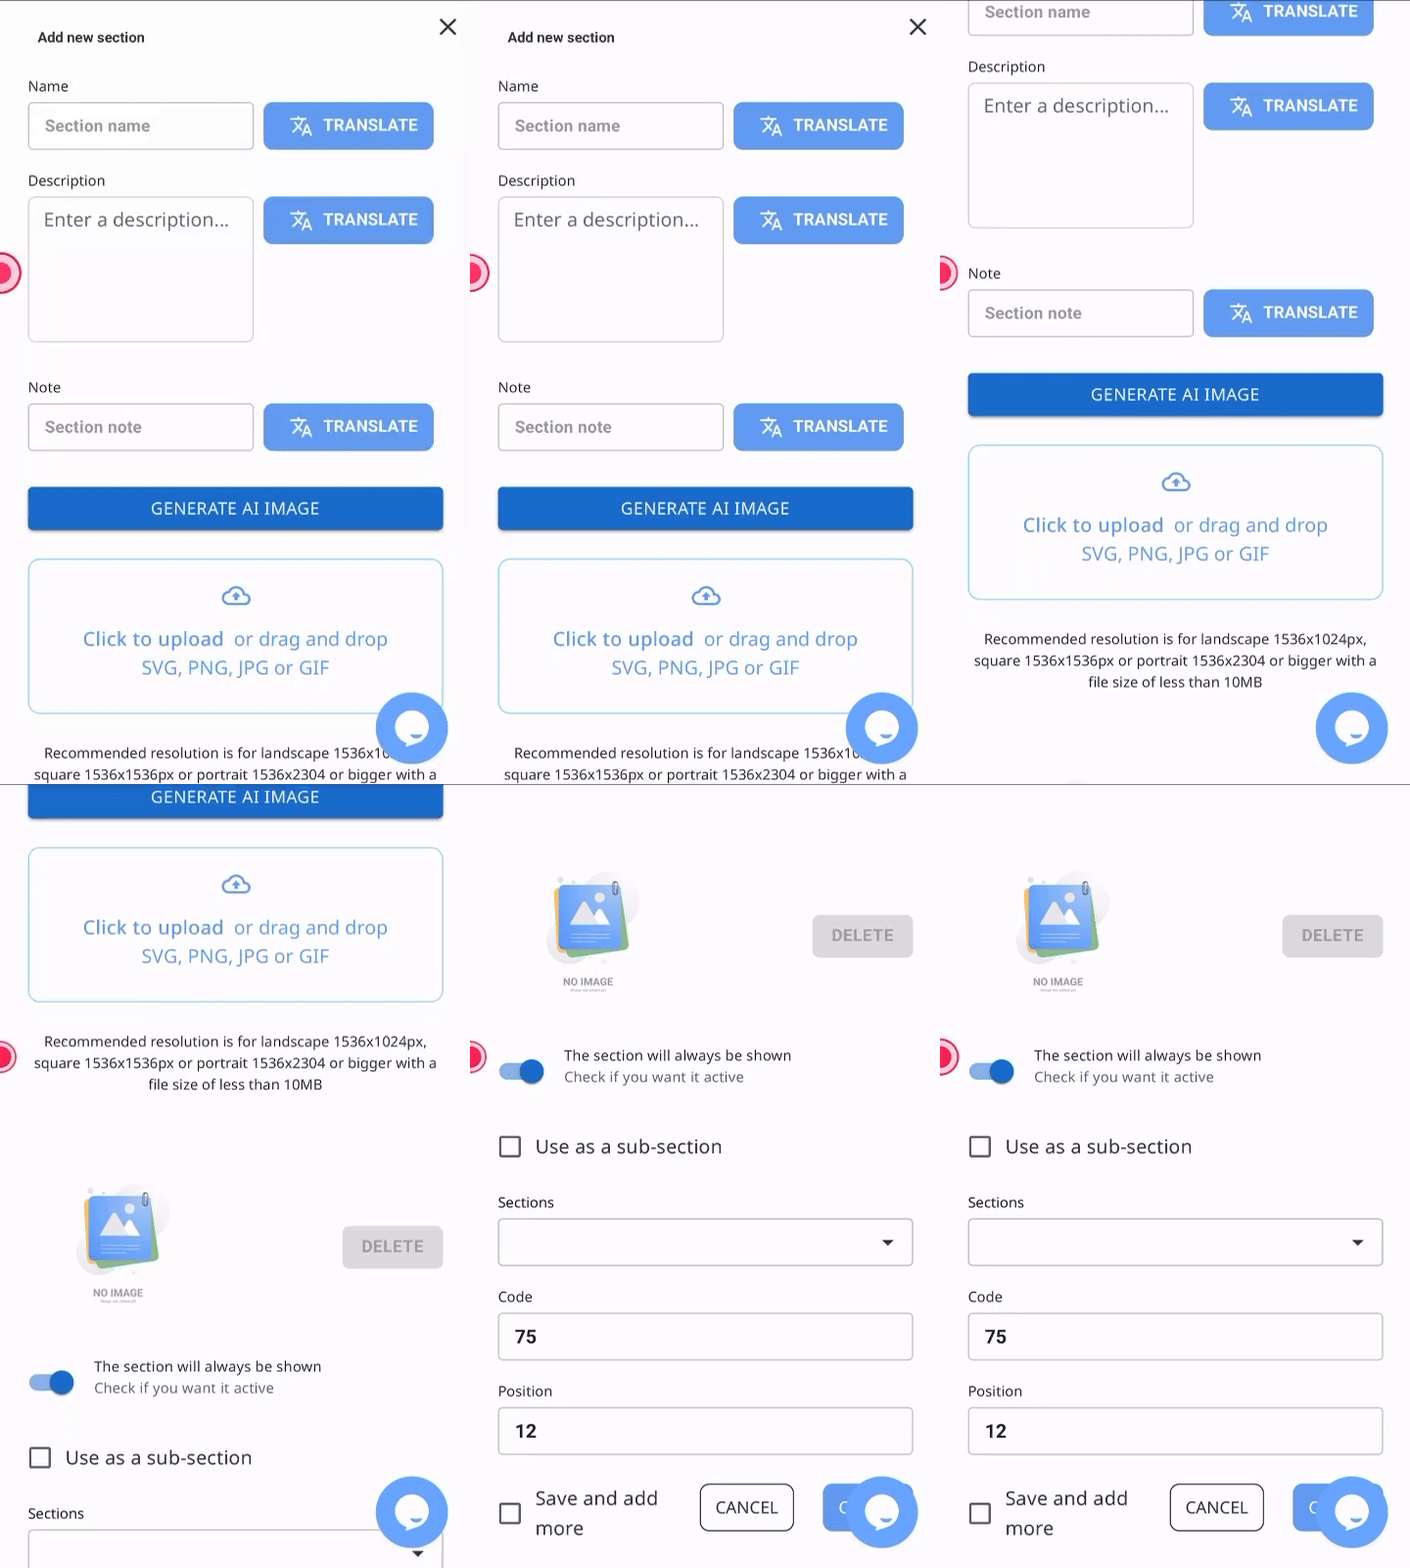
Activate or Deactivate the Section – The section can be activated to appear in the menu or deactivated to remain hidden.
-
Assign a Parent Section (Optional) – The new section can be added as a subsection within an existing main section, allowing for better menu organization.
-
Display Order – Set the section’s position relative to other sections in the menu.
-
After entering all the details, click "Save" to apply the changes.
➤ Notes
-
Sections can be edited or deleted at any time through Menu Control.
-
The section order can be adjusted as needed.
-
A section can be deactivated instead of deleted if it is not needed temporarily.
✨ Result
After completing these steps, a new section will be created within the menu, allowing you to organize and manage items efficiently.
 العربية