 العربية
⬜ Your Step-by-Step Guide to Using the Digital Menu
In this article, we will explain how to browse the digital menu after scanning the QR code, how to log in or browse without logging in, and explore all the available options that make the ordering process easier.
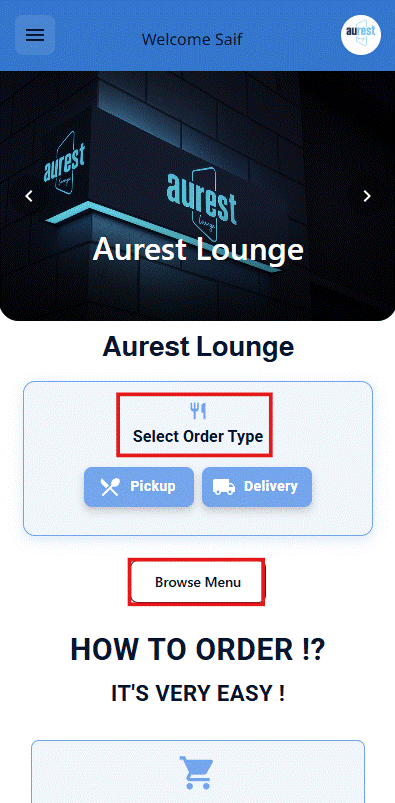
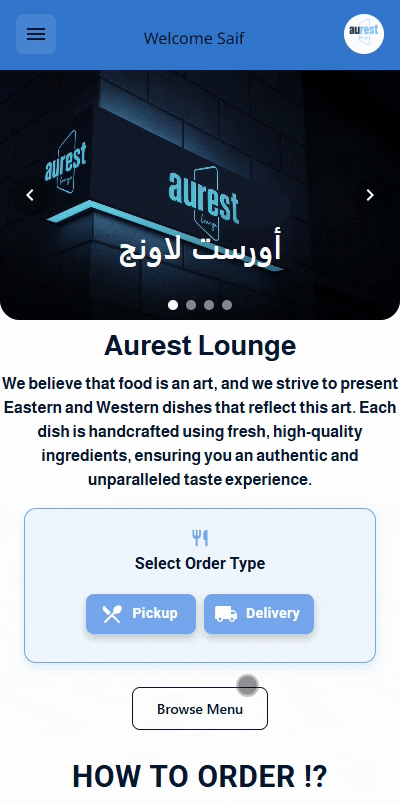
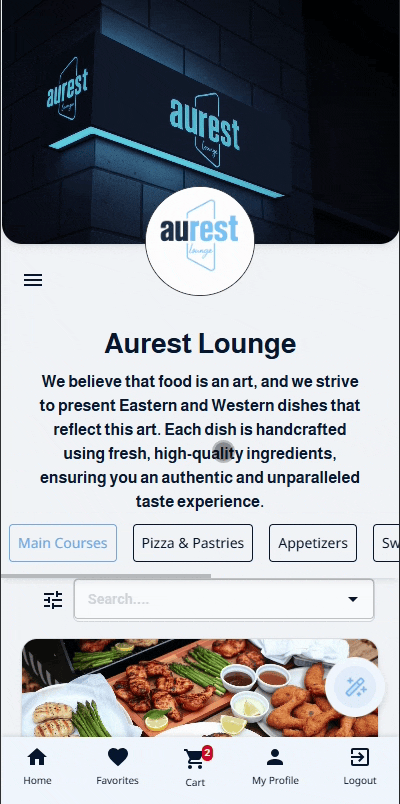
1️⃣ Accessing the Digital Menu
After scanning the QR code with your mobile phone, you will be redirected directly to the menu page.
You can press “Browse Menu” or “Choose Order Type” from the homepage to start exploring the menu.
➤ See the illustration below:
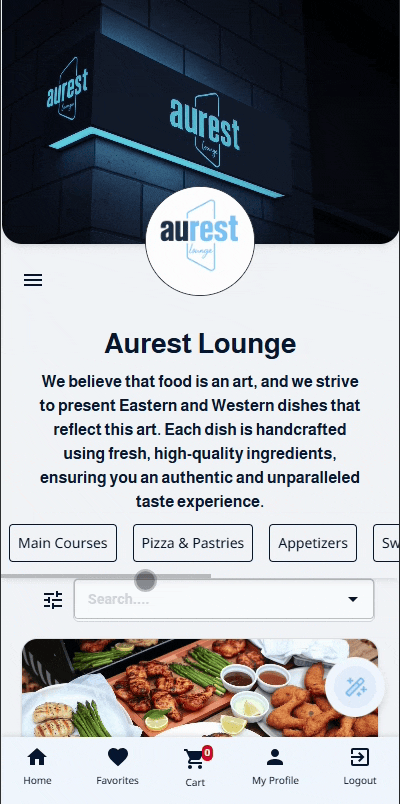
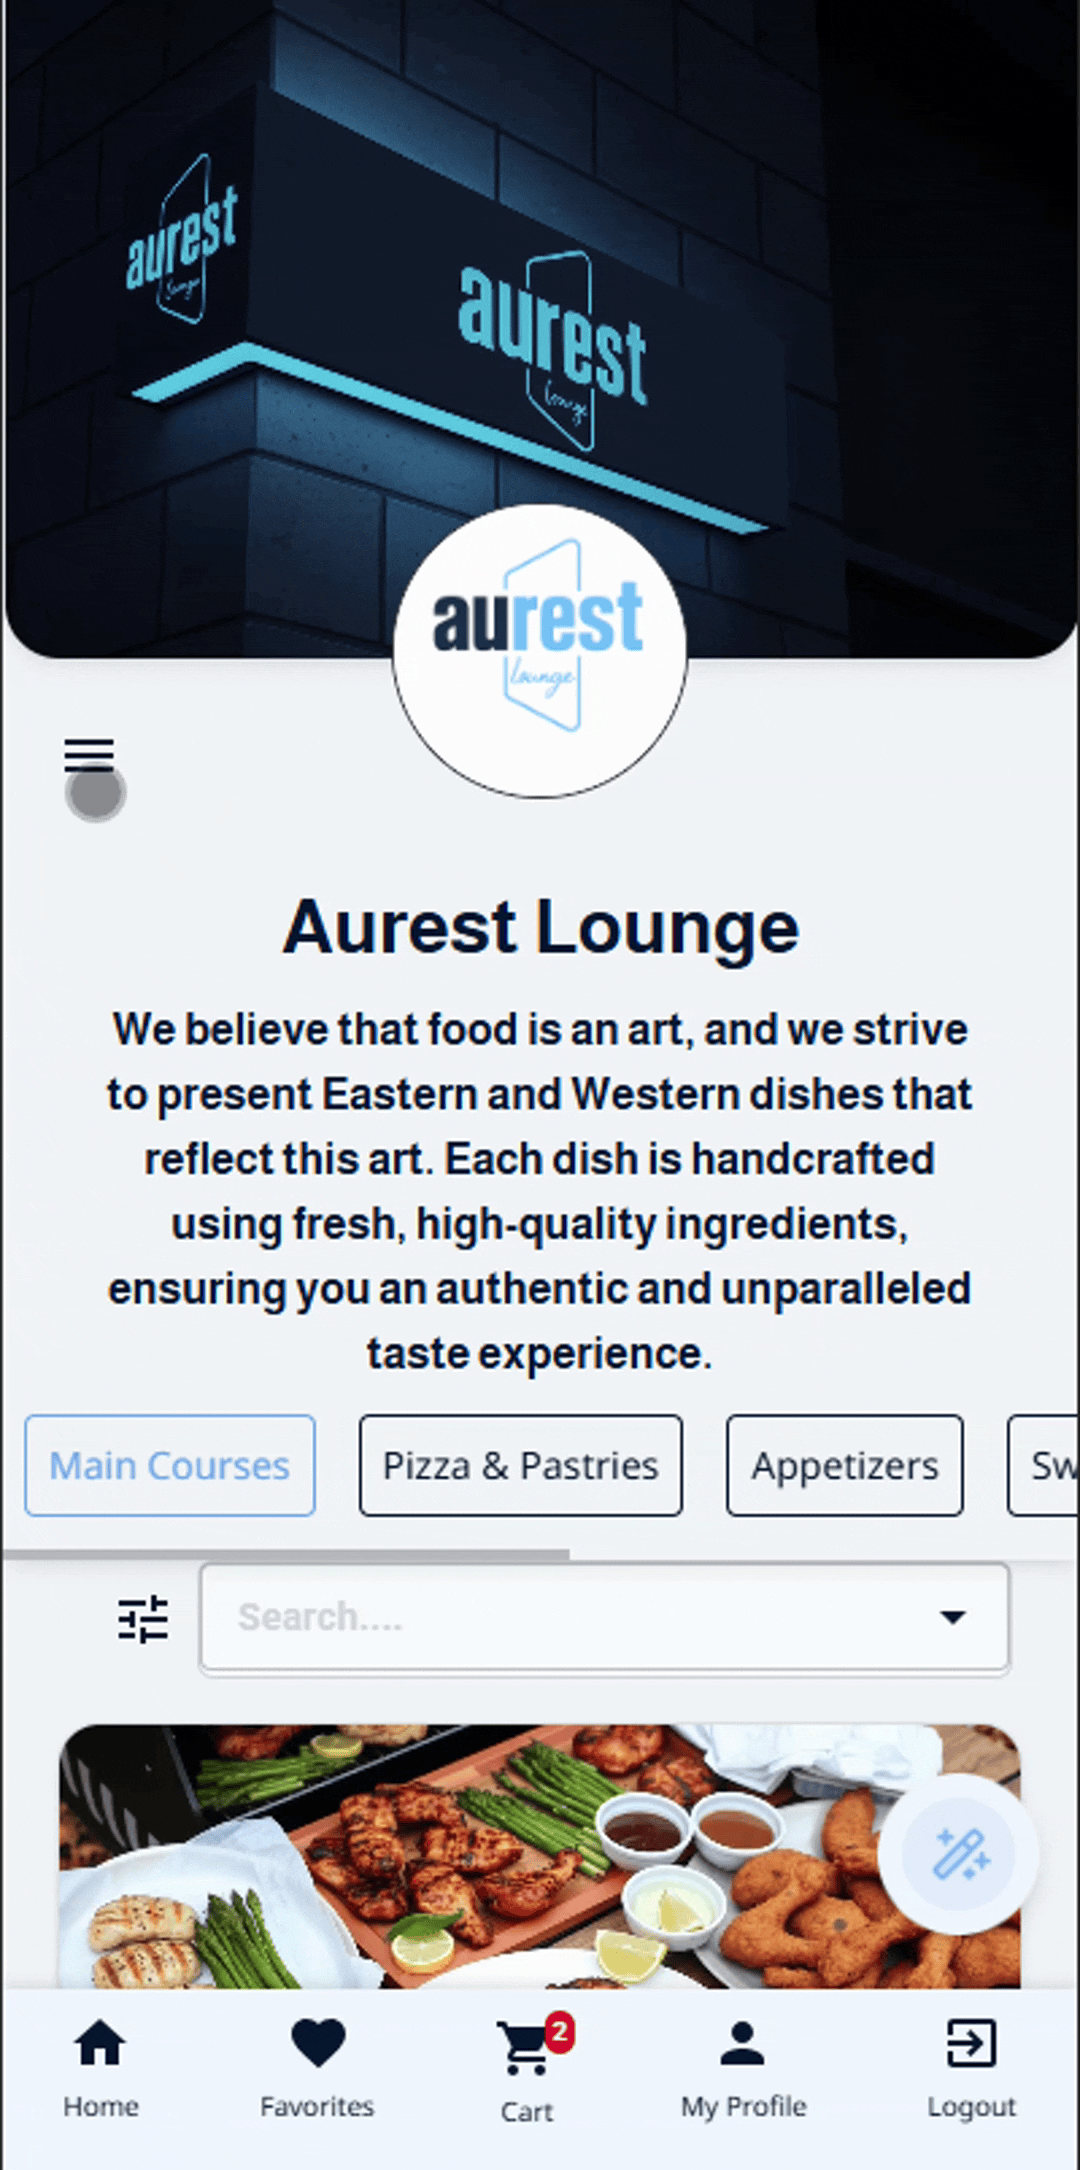
2️⃣ Browsing the Digital Menu
Once inside the menu, you will see the main categories and a variety of items.
You can choose from different categories such as: Main Dishes, Beverages, Desserts, and more.
Click on any item to view its full details, which include:
-
Item name
-
Description
-
Price
-
Calories
-
Estimated preparation time
-
Food allergy warnings
-
Suggested related items
➤ See the illustration below:
3️⃣ Using the Search Bar and Filters
At the top of the digital menu, you’ll find a search bar that allows you to quickly search for any item.
Next to the search bar, there is a filter option you can use to display:
-
Most ordered items
-
Kids’ favorites
-
New items
-
Chef’s specials
✅ For more details on how to add an item and configure its settings, please refer to the next article.
➤ See the illustration below: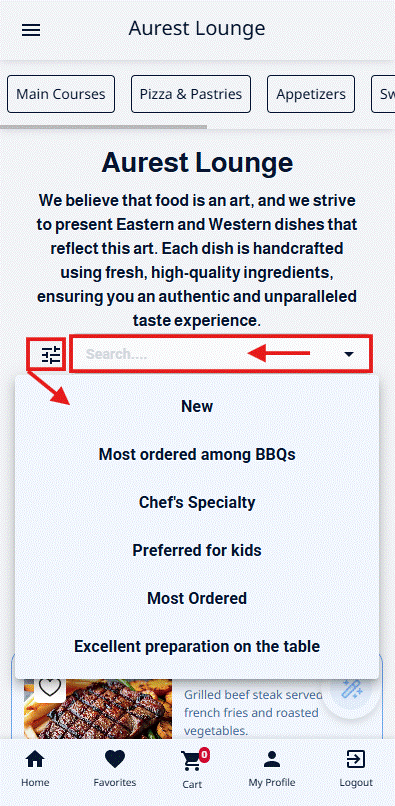
4️⃣ Adding Items to the Cart
To add an item to your cart:
-
Click on the desired item.
-
Review its details carefully.
-
Press “Add to Cart.”
➡️ Note: You can also add the item directly from the menu without opening its details, as shown in the illustration.
➤ See the illustration below:
5️⃣ Managing and Sending Your Order
After adding items to the cart:
-
Click on the cart icon at the bottom of the menu.
-
Choose the order type:
-
Delivery (to your location)
-
Pickup (from the branch)
-
Dine-in (inside the restaurant) ← This option only appears when scanning a Table QR code.
-
-
Review your order carefully and select your preferred payment method (Cash – E-payment – Wallet balance).
-
Then press “Submit Order.”
✅ For more details about order types, please refer to the next article.
➤ See the illustration below:
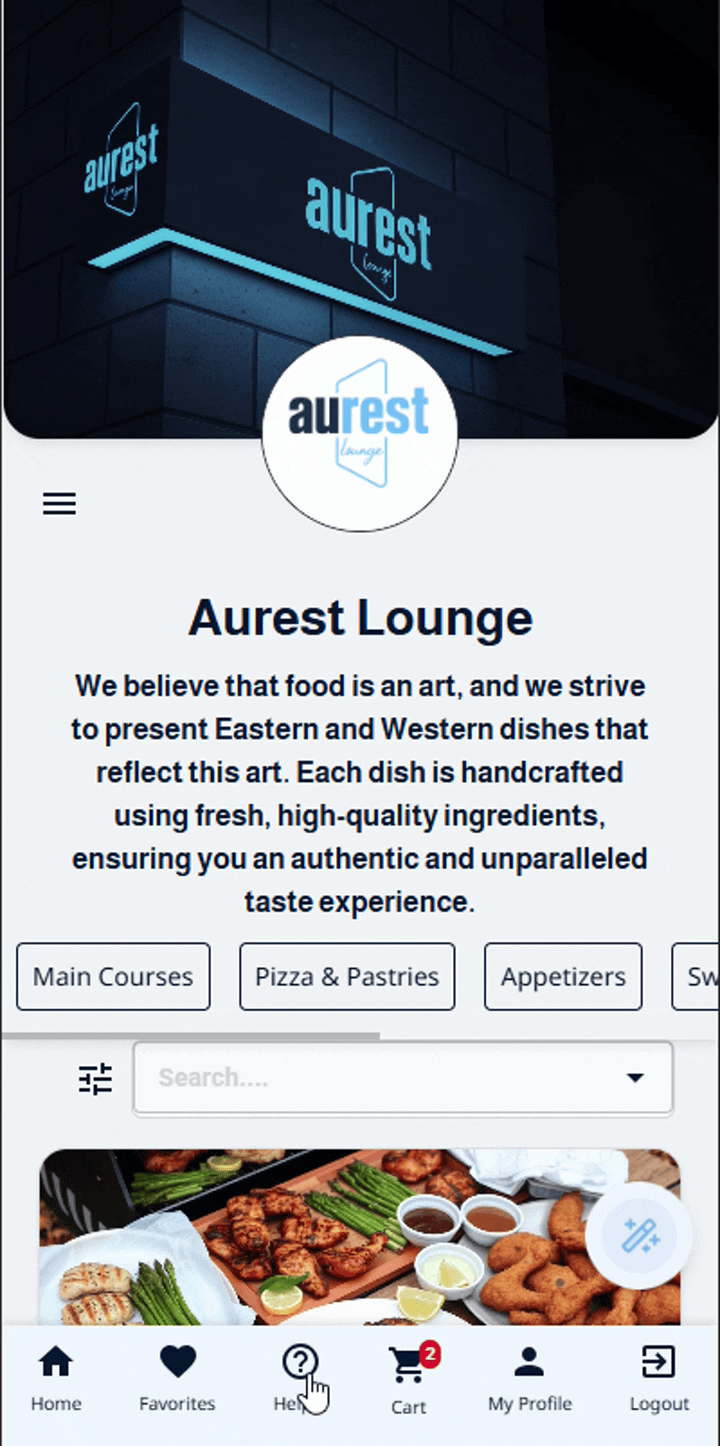
6️⃣ Additional Features in the Menu
By clicking the three-line icon (☰) at the top right corner of the screen, you can:
-
Return to the homepage
-
Change the language
-
Switch between light and dark mode
-
Browse your favorites
-
View your order history
-
Write a comment or leave feedback
-
Access “My Wallet” to check your remaining balance
-
View the Privacy Policy and Terms & Conditions
You can also save favorite items to make re-ordering faster in future visits.
➤ See the illustration below:
7️⃣ Activating the Assistant Button (for Table QR)
If you scan the QR code located on a table inside the restaurant, an additional icon will appear at the bottom of the menu: the Assistant Button.
✅ To learn how to obtain your table QR code, please refer to the next article.
When you press it, you will find pre-configured assistance options from the menu settings, such as:
-
Requesting the waiter
-
Asking for water
➤ Once you select an option, a direct notification will be sent to the staff to fulfill your request.
✅ (To learn how to configure assistant options, please check the next article.)
➤ See the illustration below:
✨ Conclusion
Browsing the digital menu is now simpler and more flexible, allowing you to:
-
Access it instantly via QR code.
-
Add items to your cart from either the item details page or directly from the menu.
-
Choose your order type (Delivery / Pickup) or Dine-in when scanning a Table QR code.
-
Benefit from additional features such as My Wallet, Order History, and Favorites.
This ensures you enjoy a smart and fast ordering experience, whether you are dining inside the restaurant or ordering remotely.