⬜ Menus in the Menu Control Section in Aurmenu
The Menus section is a subcategory within Menu Control, allowing you to manage all previously created menus and add new ones effortlessly. Here is a detailed guide to exploring this section:
1️⃣ Accessing the Menus Section
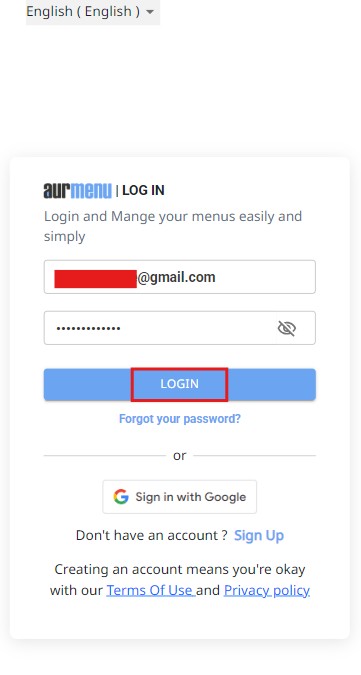
✅ Before you begin, make sure you are logged into your account.
✔ If you need help logging in, you can refer to the previous article.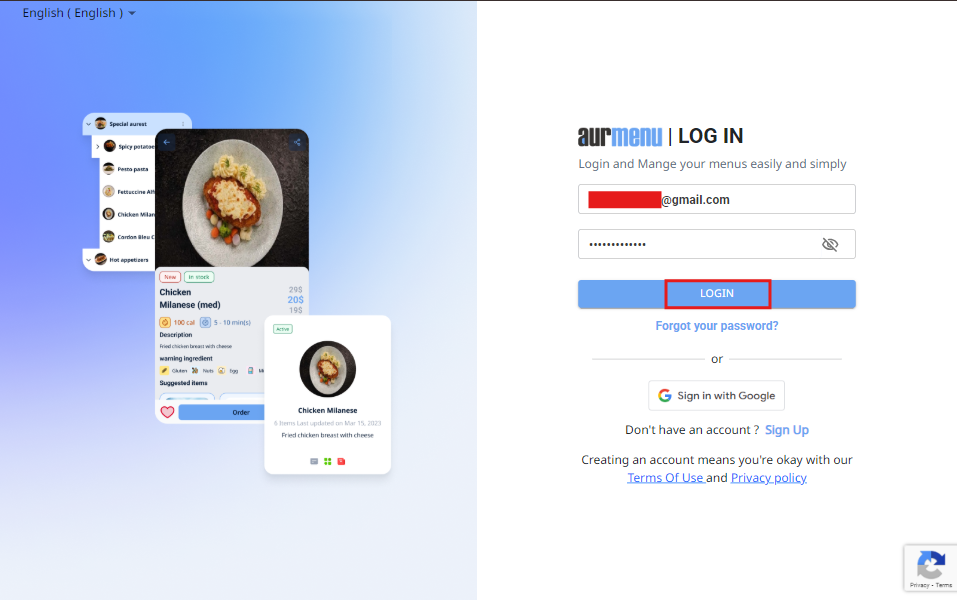
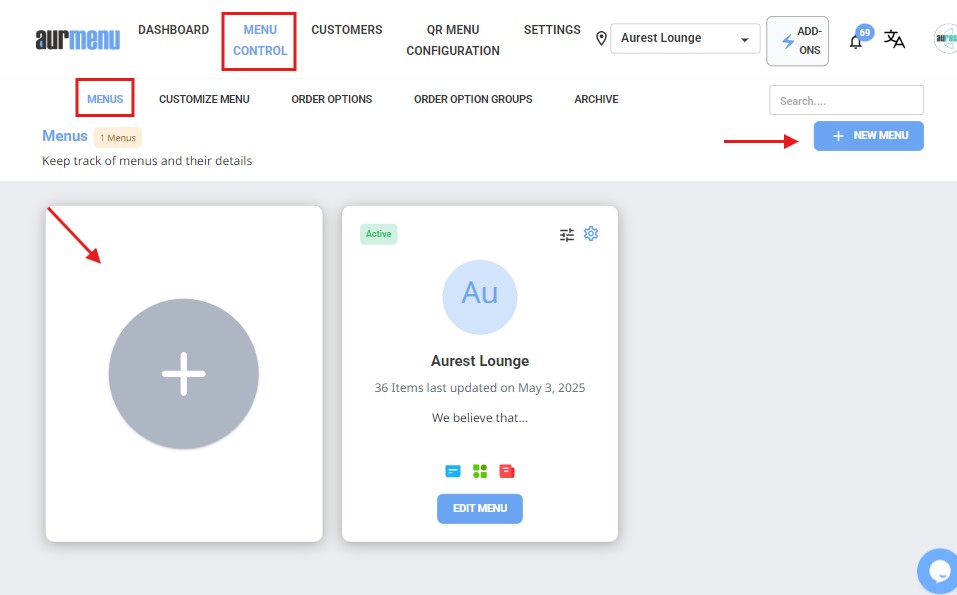
✔ After logging in, navigate to the Menu Control section and select Menus, where you can manage and control all your menus with ease.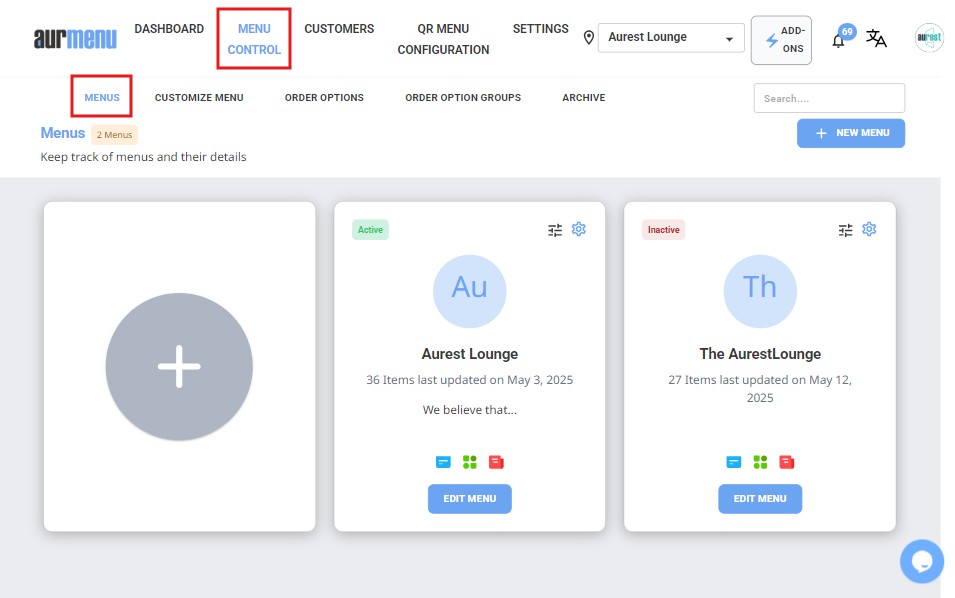
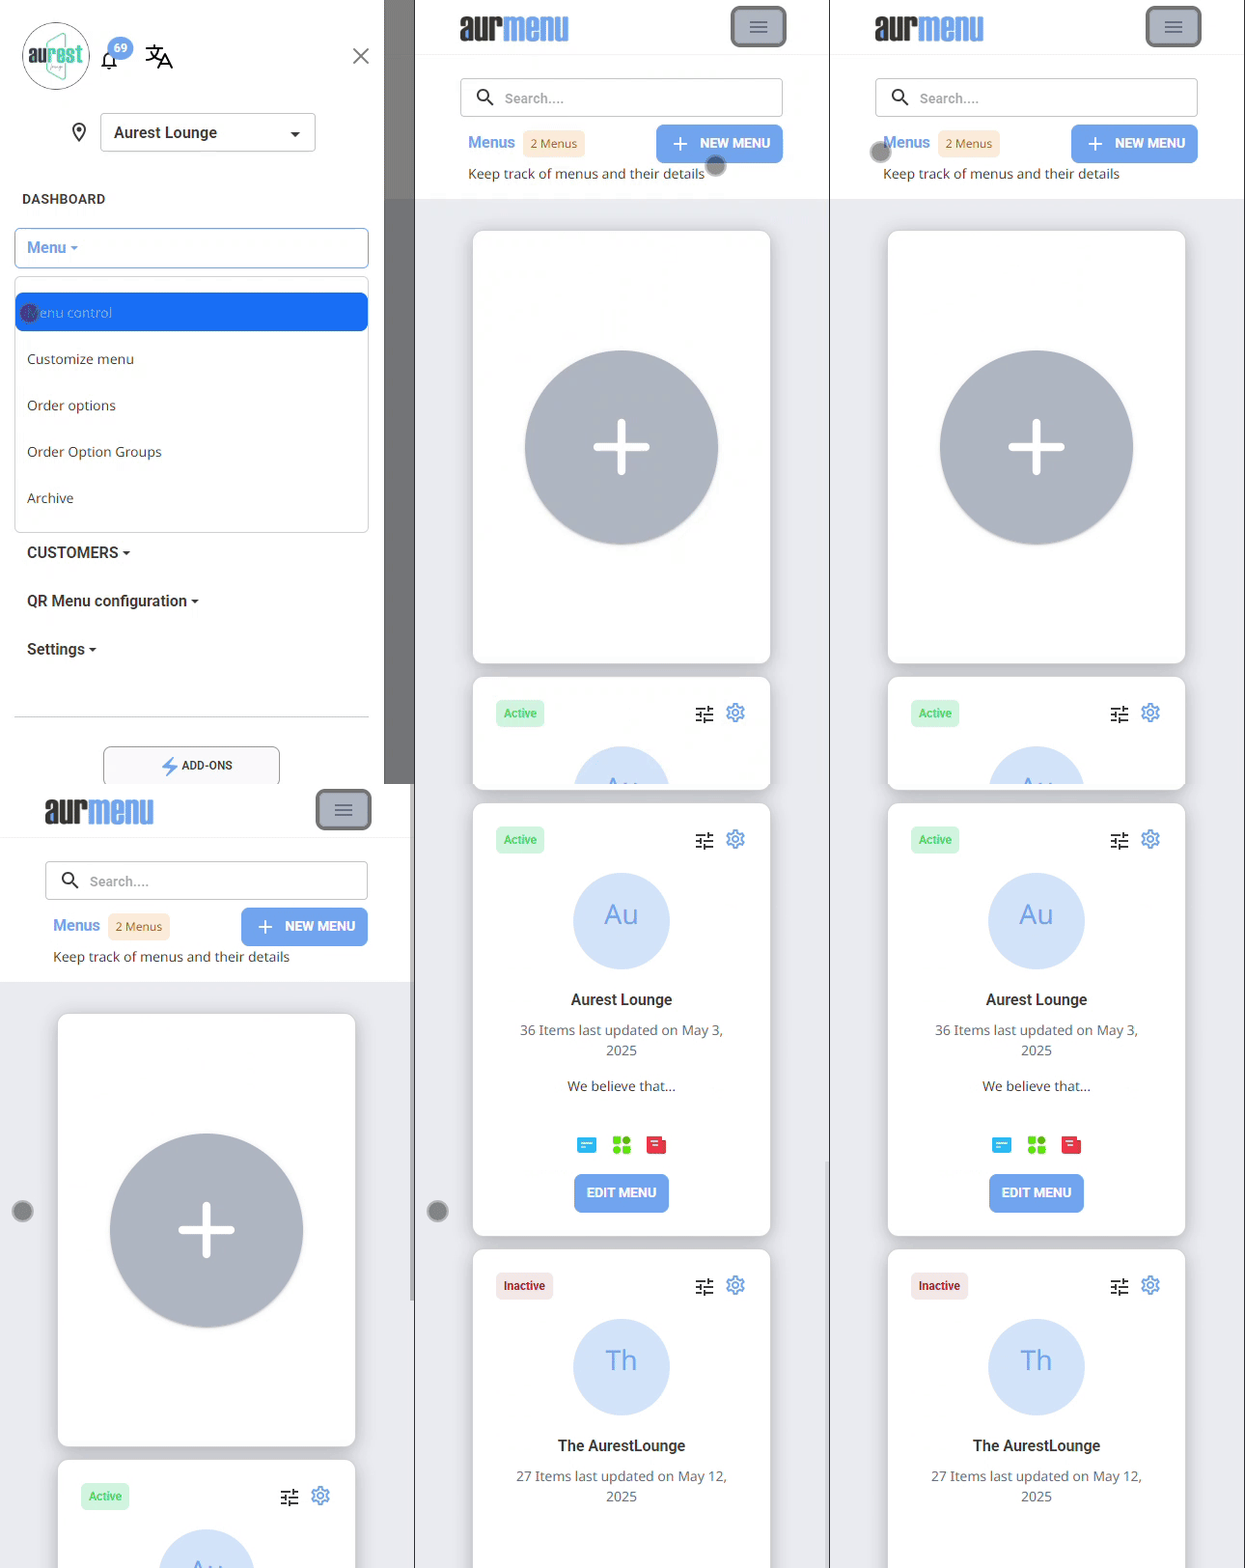
2️⃣ Exploring Available Menus
-
Here, you will find all the menus you have previously created, with the ability to:
✔ Edit menus and make necessary changes.
✔ Update menu details or modify prices as needed.
✔ Permanently delete menus if they are no longer required.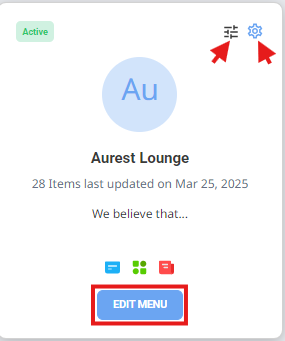
3️⃣ Searching for a Specific Menu
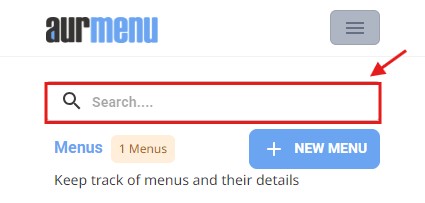
✔ On the right side of the screen, you will find a search bar that allows you to quickly and easily find a specific menu.
4️⃣ Adding a New Menu
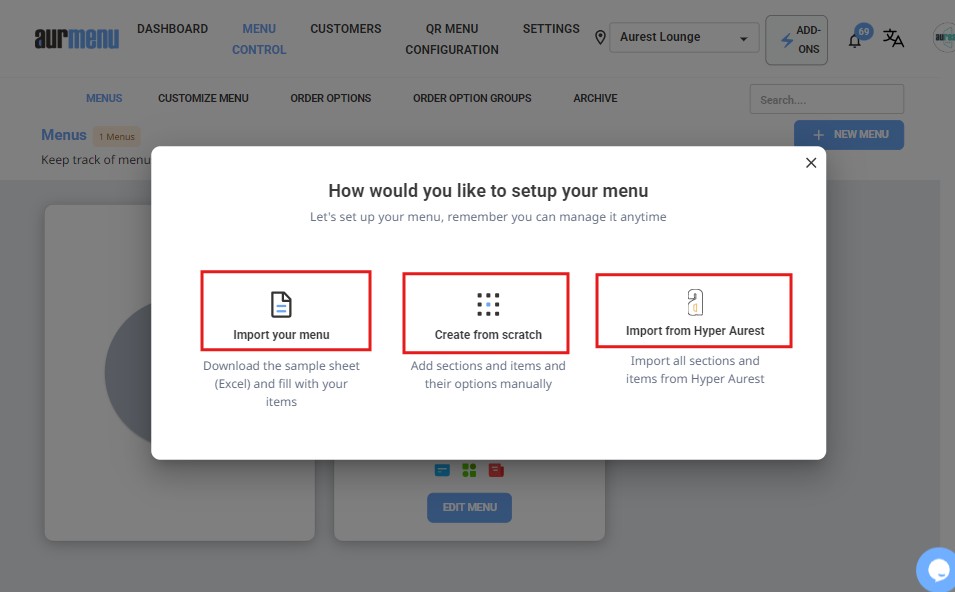
- There are several ways to add a new menu:
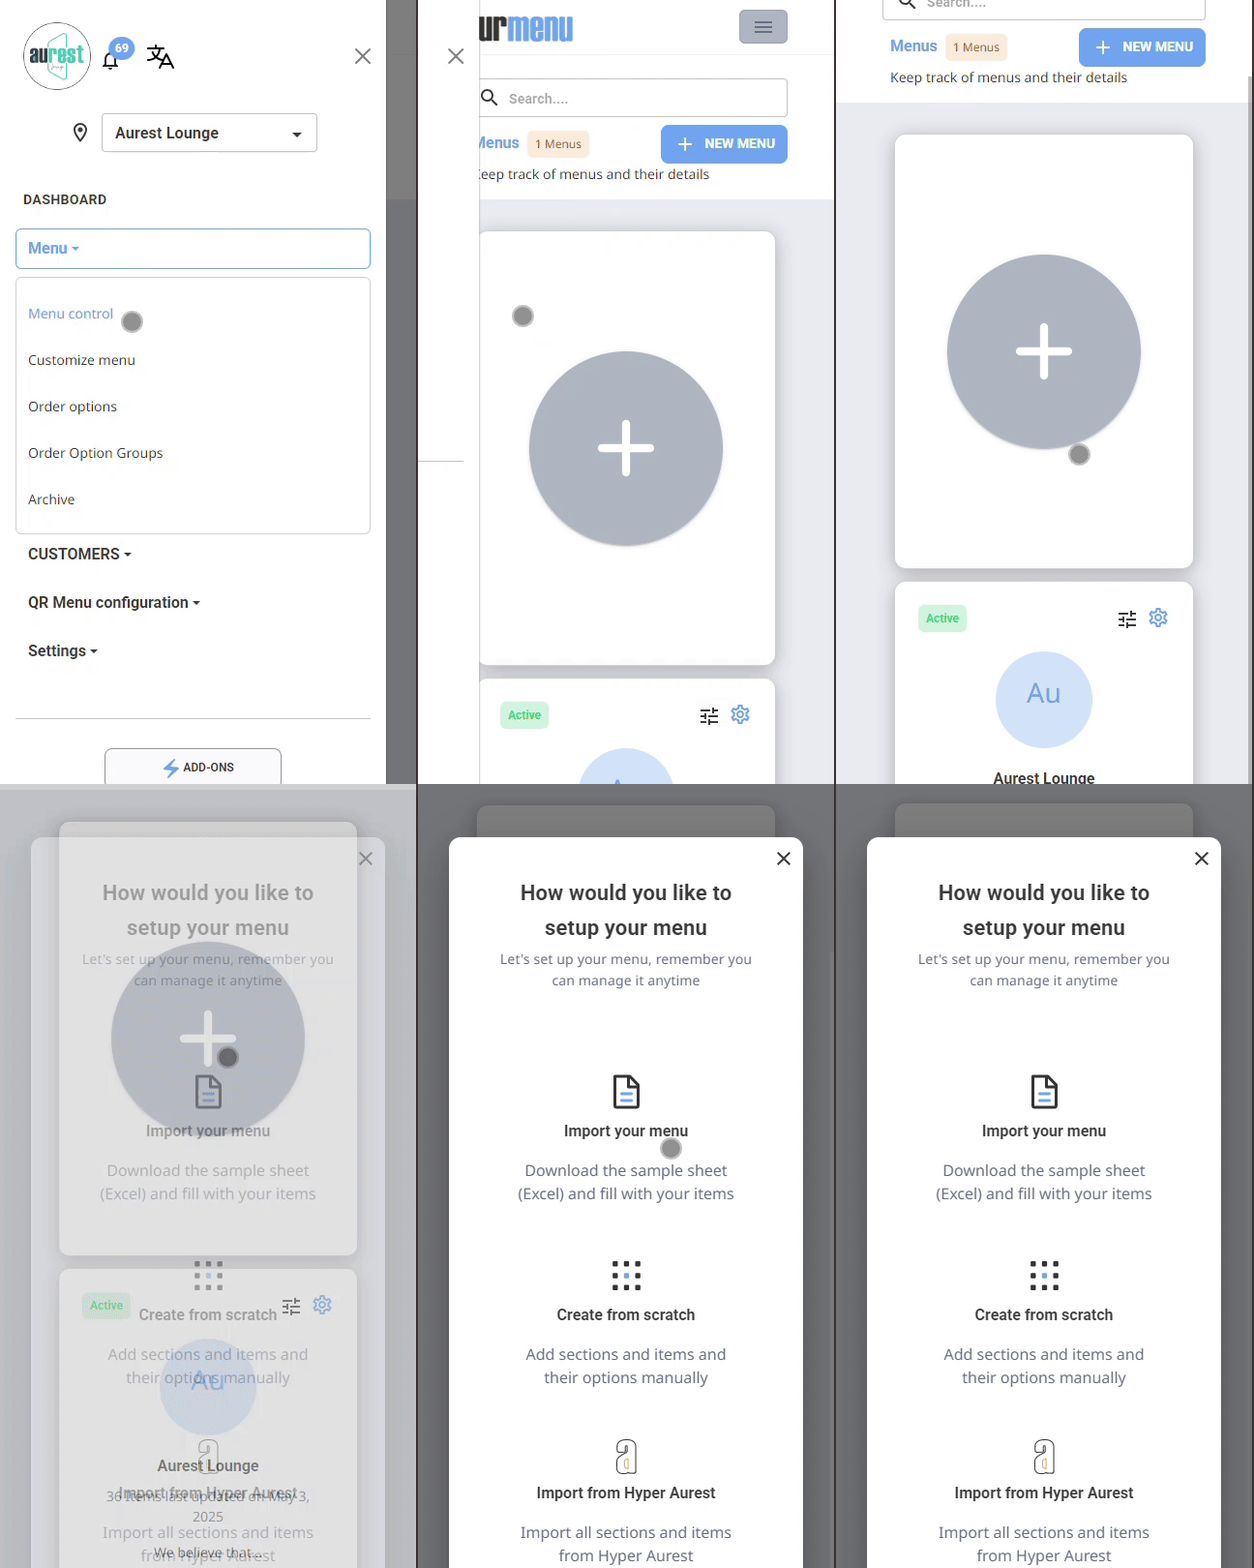
✔ ( + ) Button – Choose how you want to create a new menu from the available options:
✔ "Add New Menu" Button on the right Side of the Screen – Create a new menu directly.
➤ You can import a menu from Excel – For more details, refer to this article.
➤ To learn how to create a menu from scratch – For more details, refer to this article.
➤ You can also import a menu from Hyper Aurest – For more details, refer to this article.
✔ Each menu can be customized and configured separately to suit your needs!
✨ Summary
-The Menu Control section gives you full control over your menus, from editing and updating to searching for specific menus or adding new ones effortlessly.
 العربية