⬜Guide to Using the "Add Menus" Feature in Aurmenu
The "Add Menus" feature in Aurmenu allows you to create multiple menus for your branch.
✅ Why Should You Enable the "Add Menus" Feature?
✔ Better menu organization – Create separate menus for different branches or categories within your store.
✔ Personalized customer experience – Offer targeted menus for specific groups, such as breakfast menus or special promotions.
✔ Increase sales – Easily accessible multiple menus enhance the user experience and help customers make faster purchasing decisions.
✅ How to Enable the "Add Menus" Feature?
- Follow these steps to enable the "Add Menus" feature:
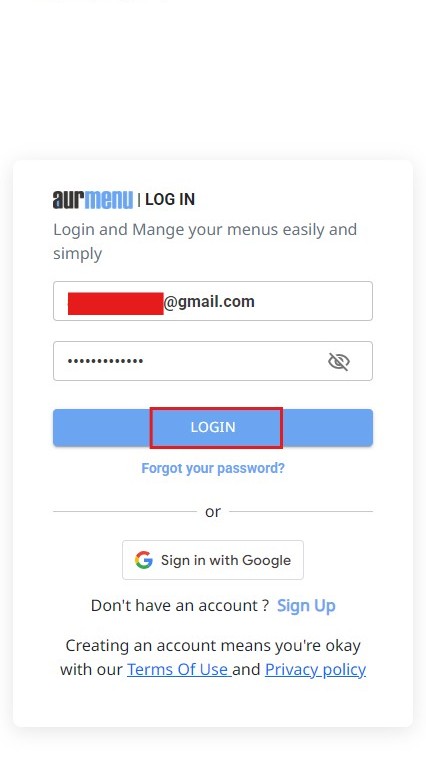
1️⃣ Log in to the Aurmenu application.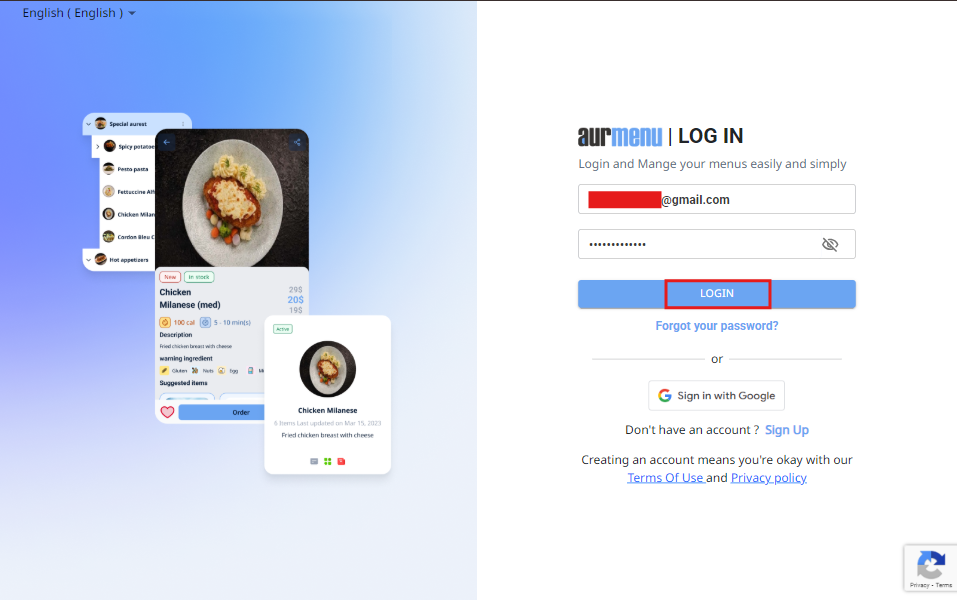
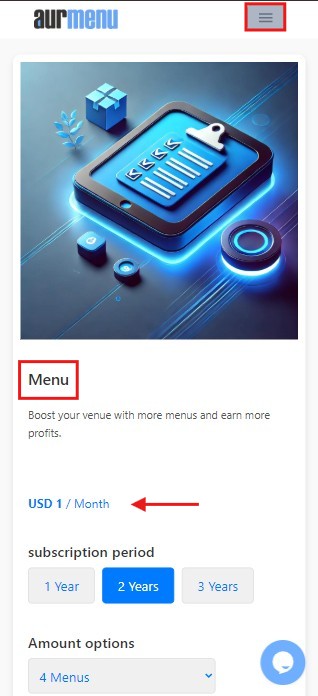
2️⃣ Navigate to the "Add-ons" button from the top menu bar.
3️⃣ Click on "Add-ons" to view available features.
4️⃣ Search for the "Menus" add-on in the list.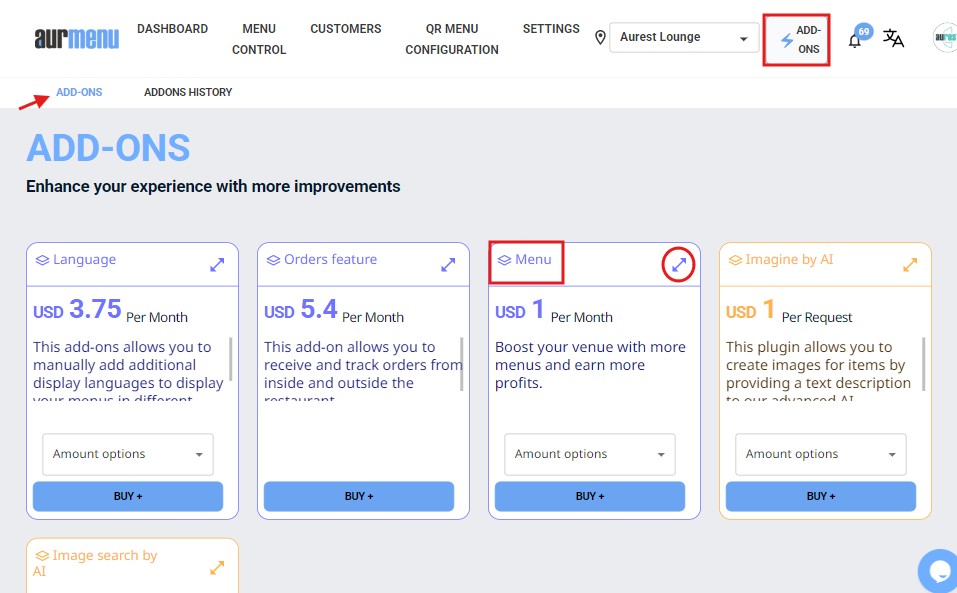
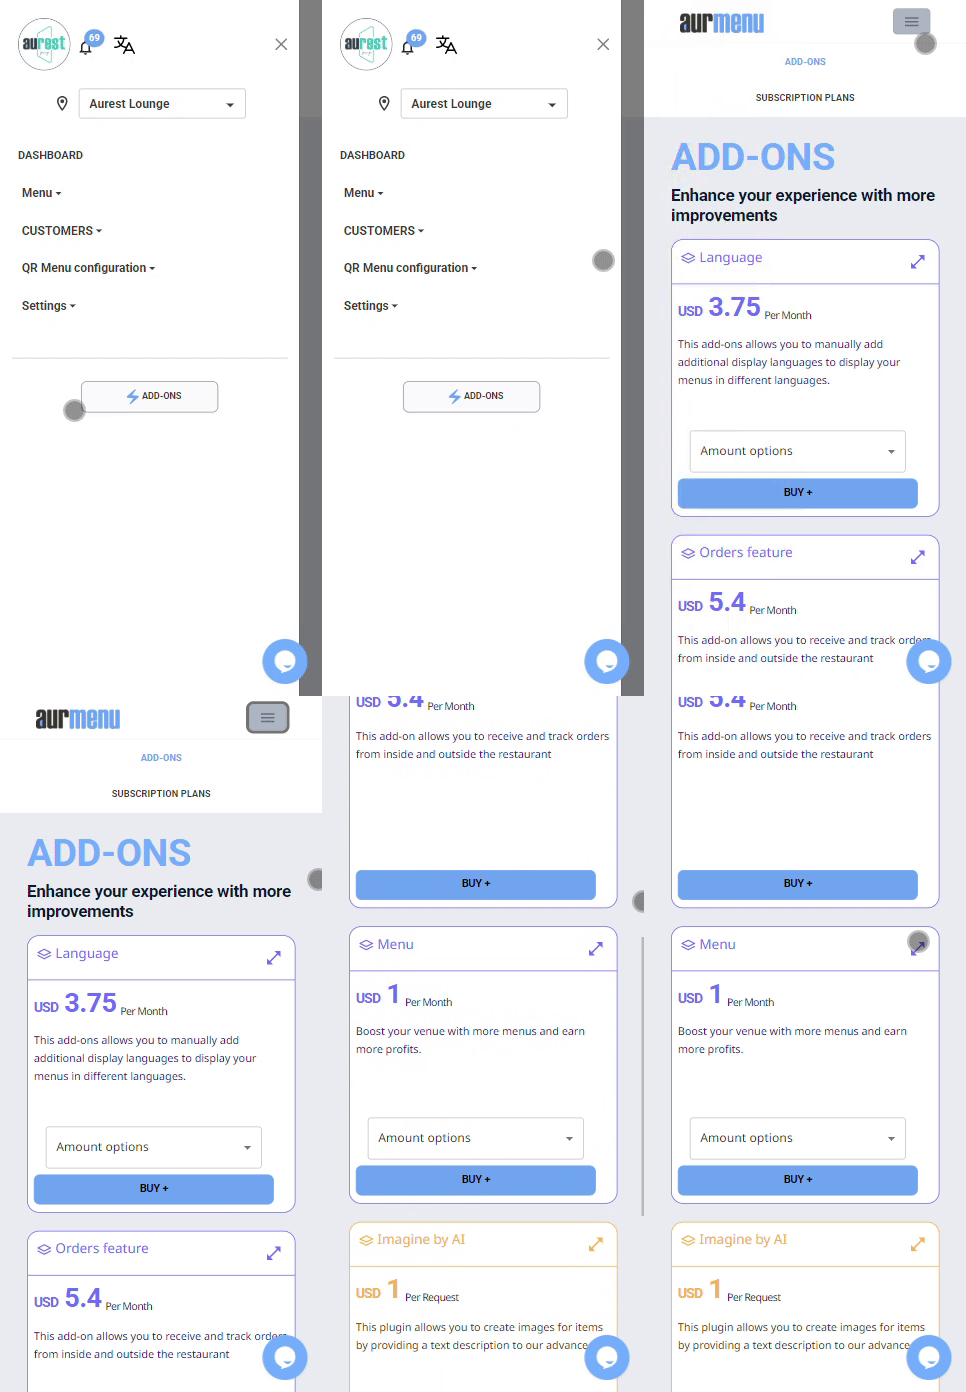
5️⃣ Select the number of menus you want to add (up to 10 menus).
6️⃣ Click the "Buy" button to activate the feature.
7️⃣ You will be redirected to the payment page, where you can enter your card details.
8️⃣ Complete the payment to activate the feature immediately on your account.
9️⃣ Start adding and organizing your menus to suit your store’s needs!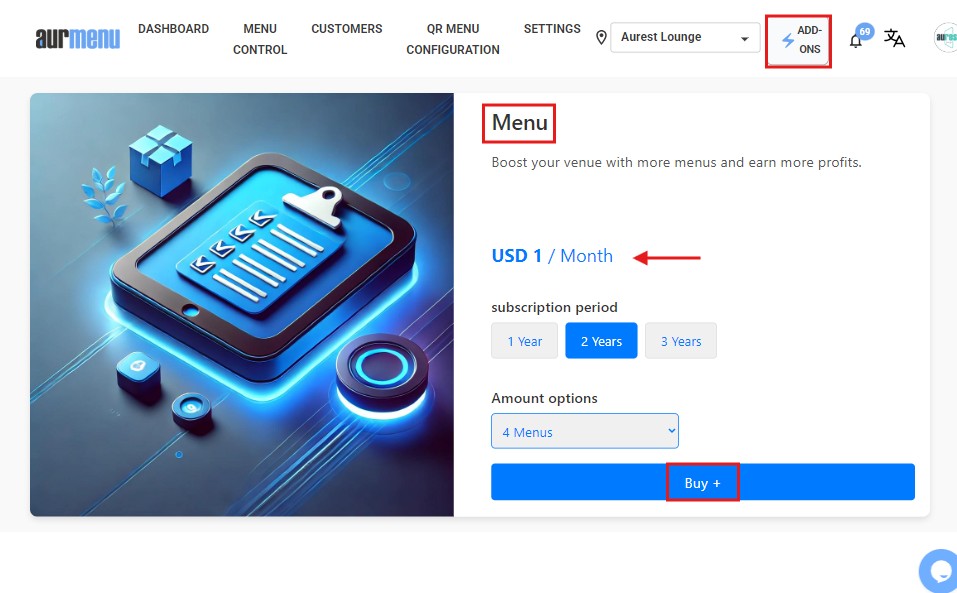
✅ For more add-ons to enhance your menu, check out the previous article and explore the available features to improve your customer experience!
✨ Important Notes
✔ You can add up to 10 menus per branch.
✔ Each menu can be customized to suit a specific customer group or promotions.
✔ Menus can be easily managed from the dashboard within the app.
✔ You can disable or edit menus anytime as needed.
 العربية